Install kali Linux on mac m1, m2 VMware Fusion
Kali Linux is an operating system for penetration testing and computer security, this post will show step by step installation on MacBook m1 or m2. It is worth mentioning that the architecture of these processors are different from what we traditionally know as intel or amd.
The installation of kali Linux does not require any special configuration, however we must take into account that we are using VMware fusion and it will not affect our mac system.
Create kali Linux Virtual Machine on macbook m1, m2
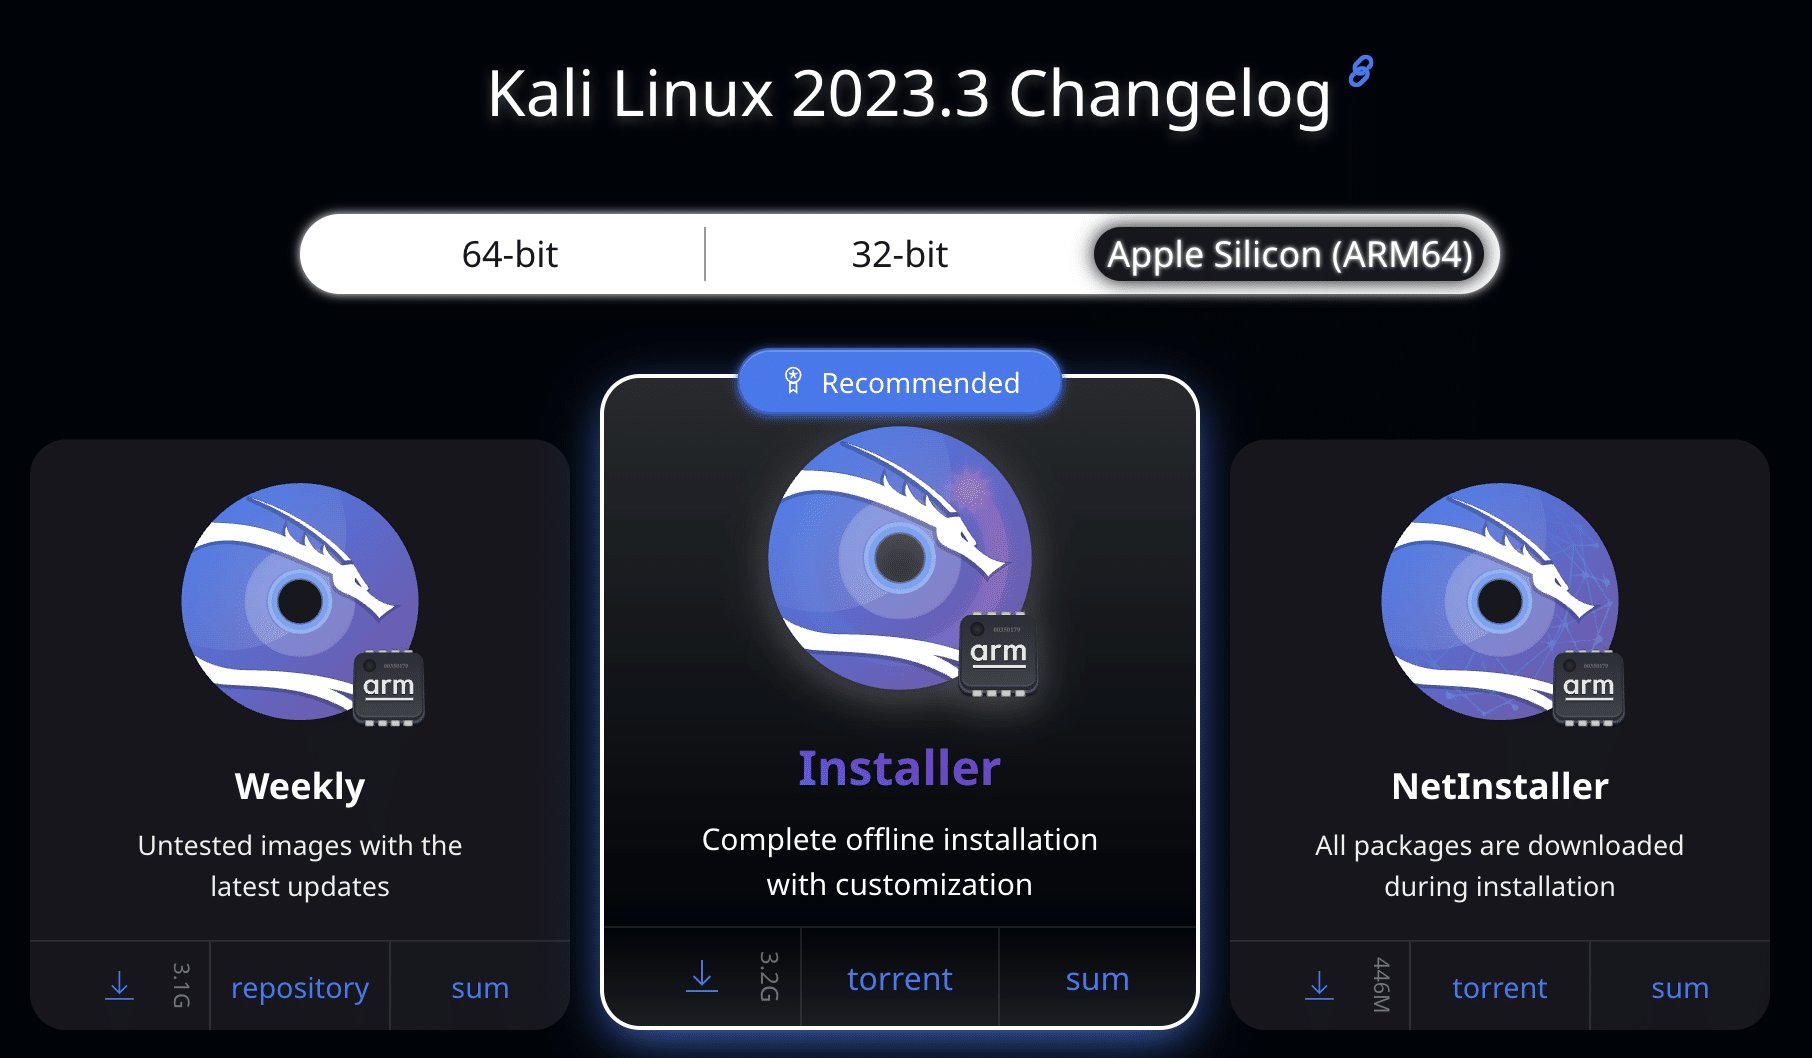
1.-To install kali we need the iso image which you can find at this link on their official website. We must select the apple silicon arm 64 version
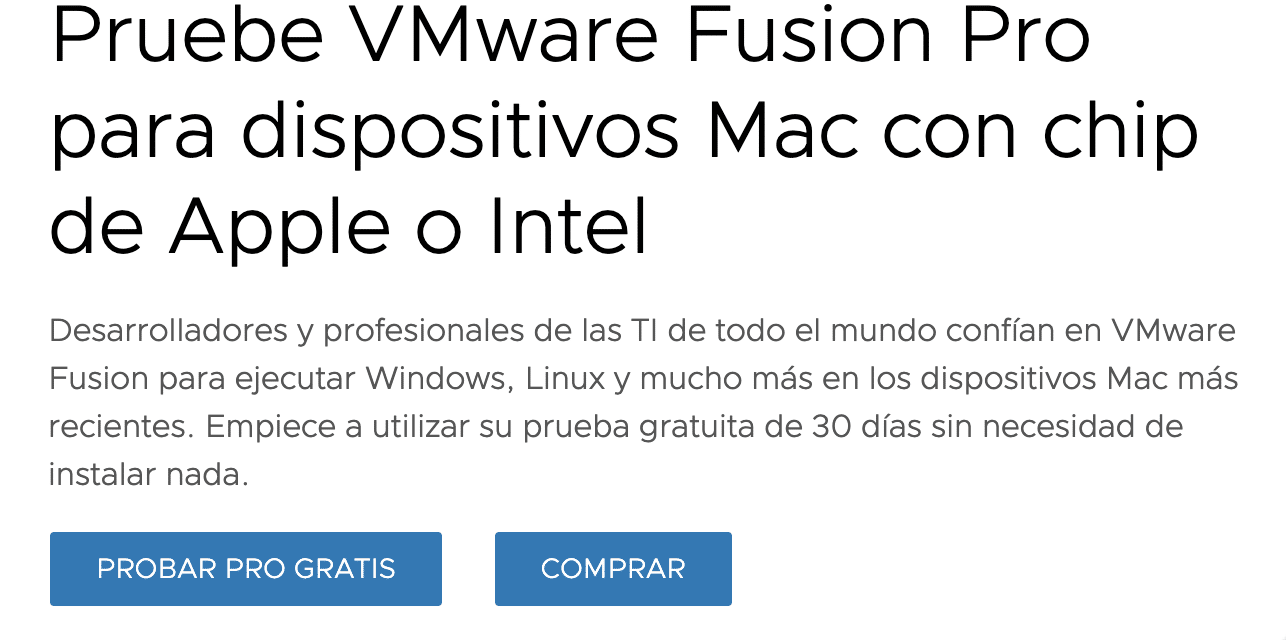
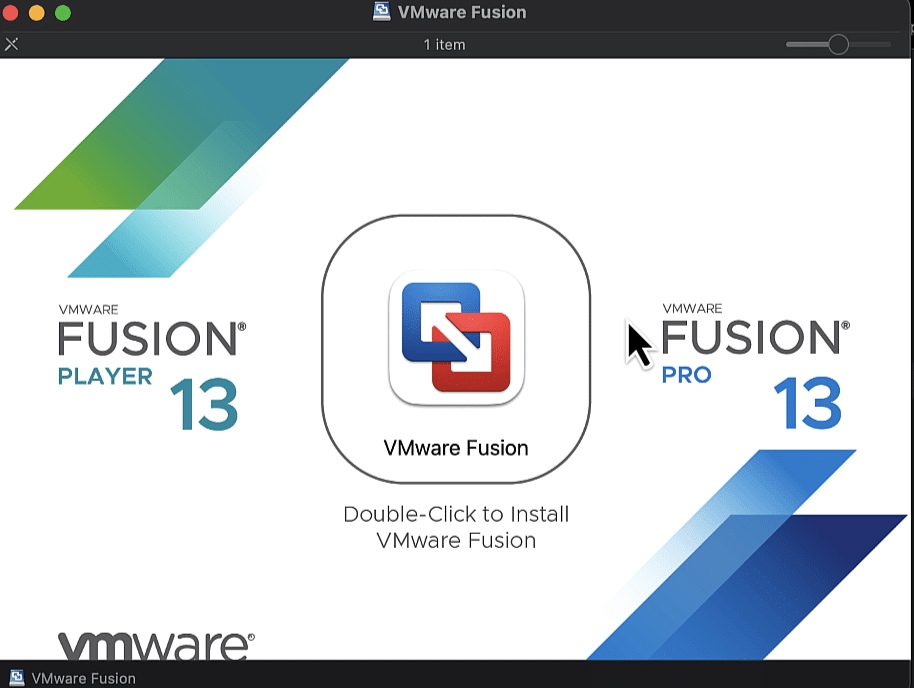
2.- Let's download VMware fusion from its official website. Click on the option to try the free pro option.
Once VMware fusion and kali linux are downloaded, open the VMware fusion installer and click on it twice.
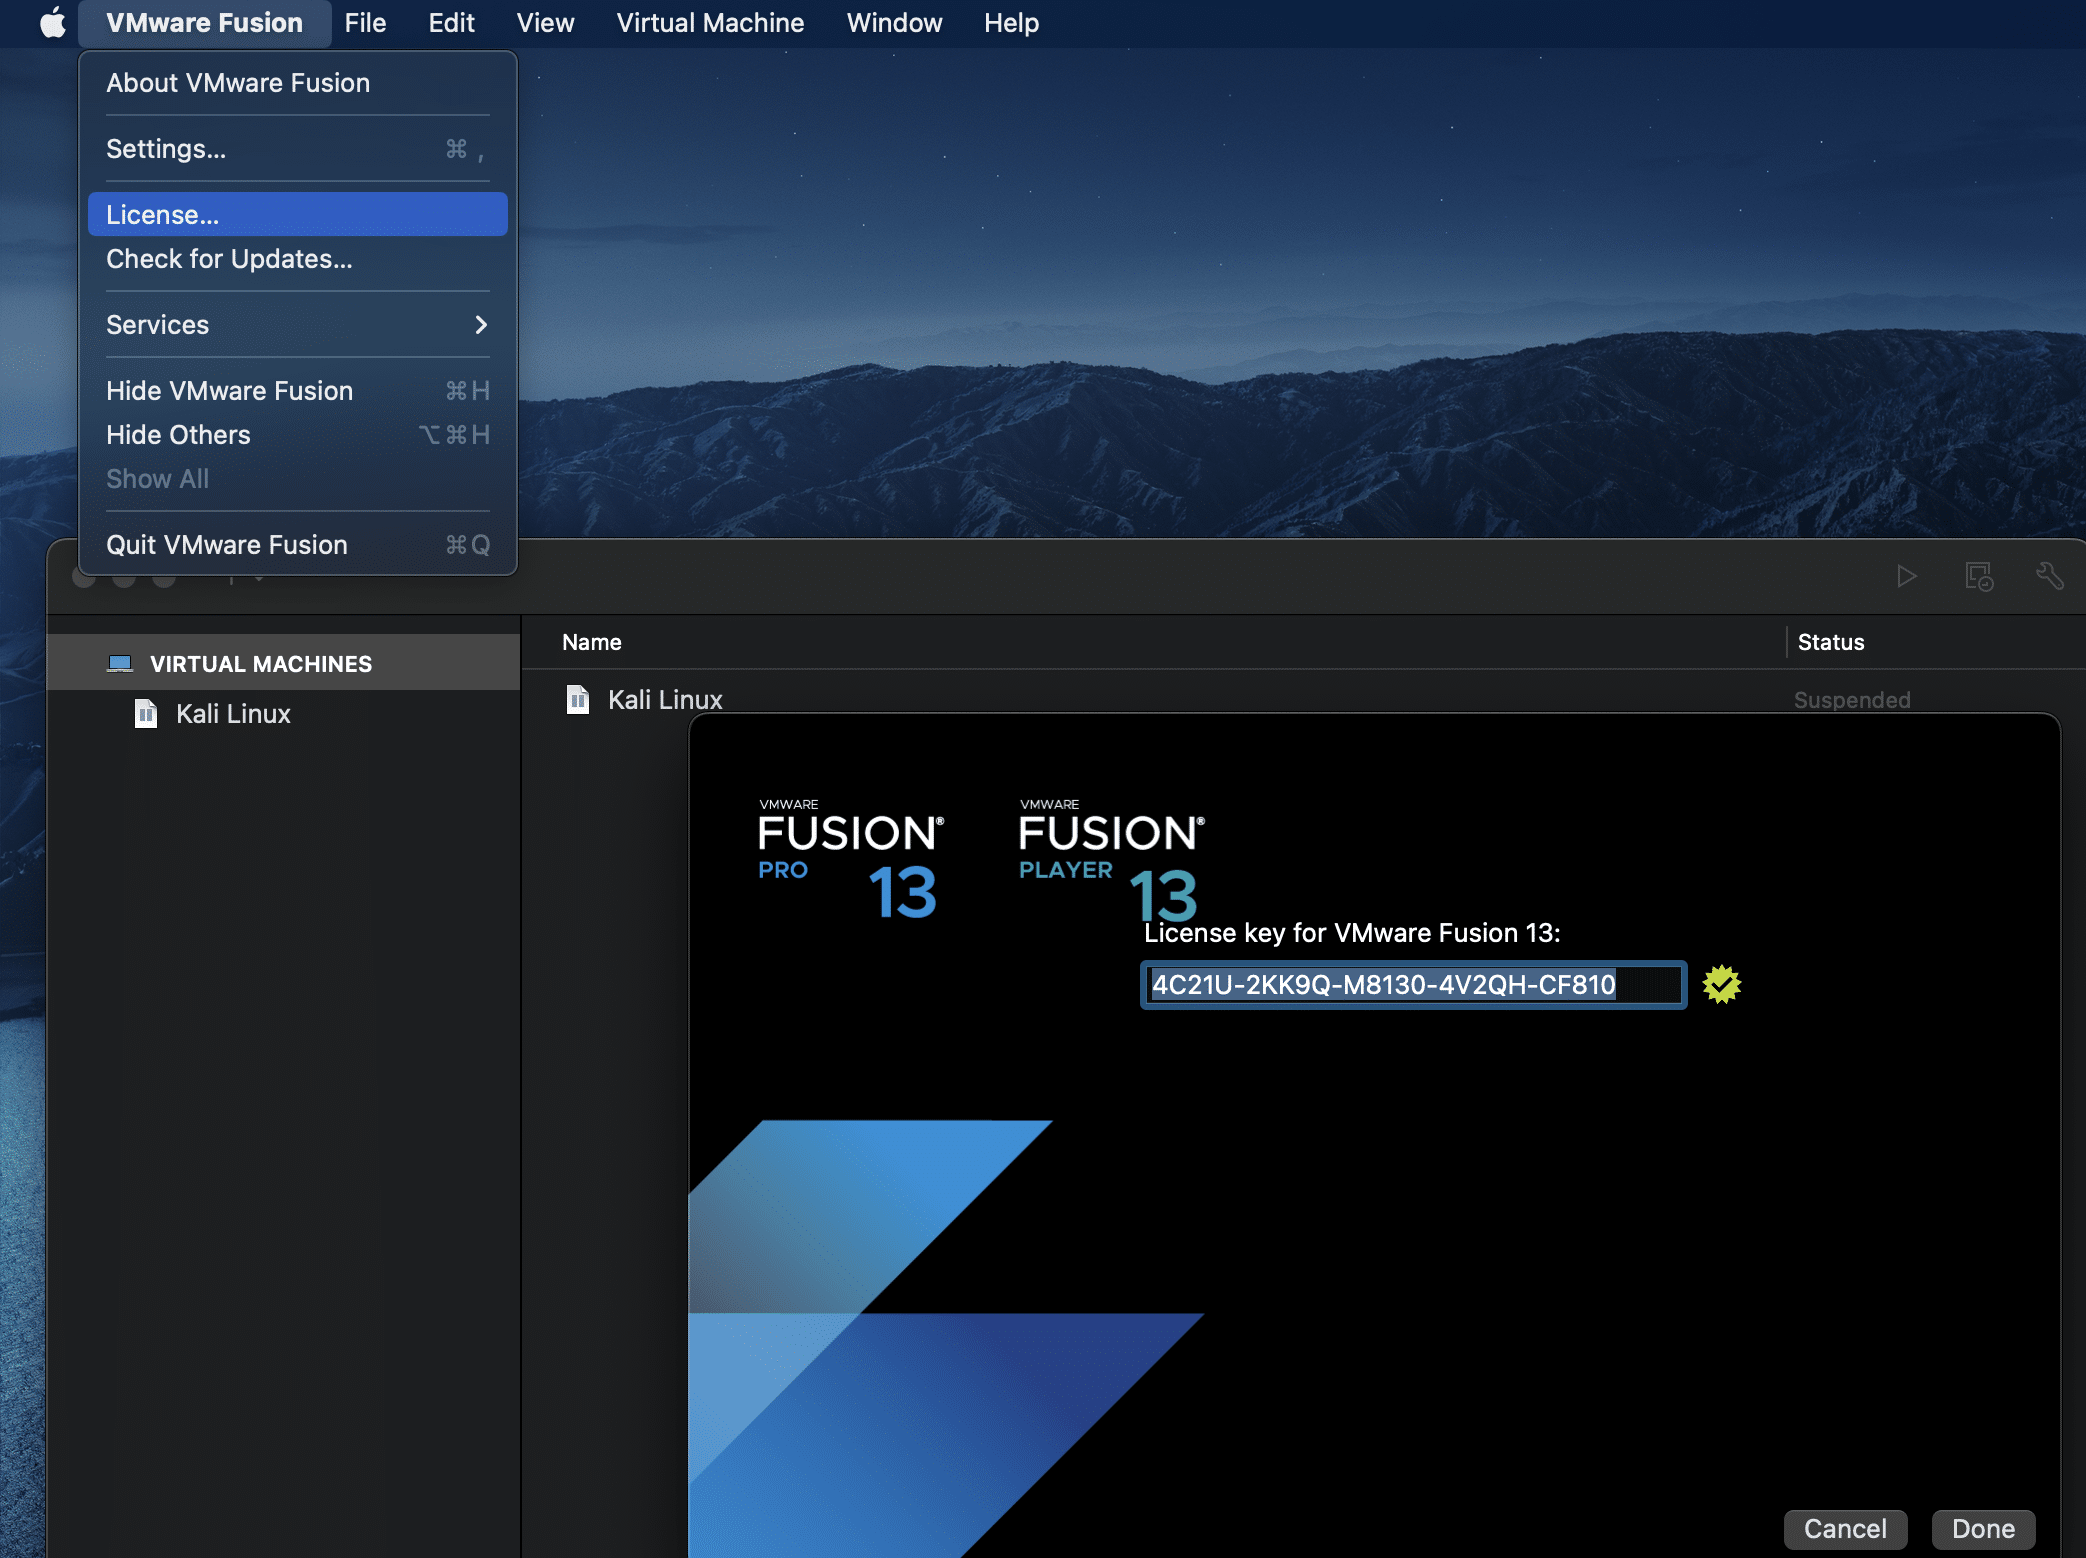
4.- Once installed, go to MacBook applications and look for the application, go to the top corner>VMware fusion>Licences. Enter license number: 4C21U-2KKK9Q-M8130-4V2QH-CF810
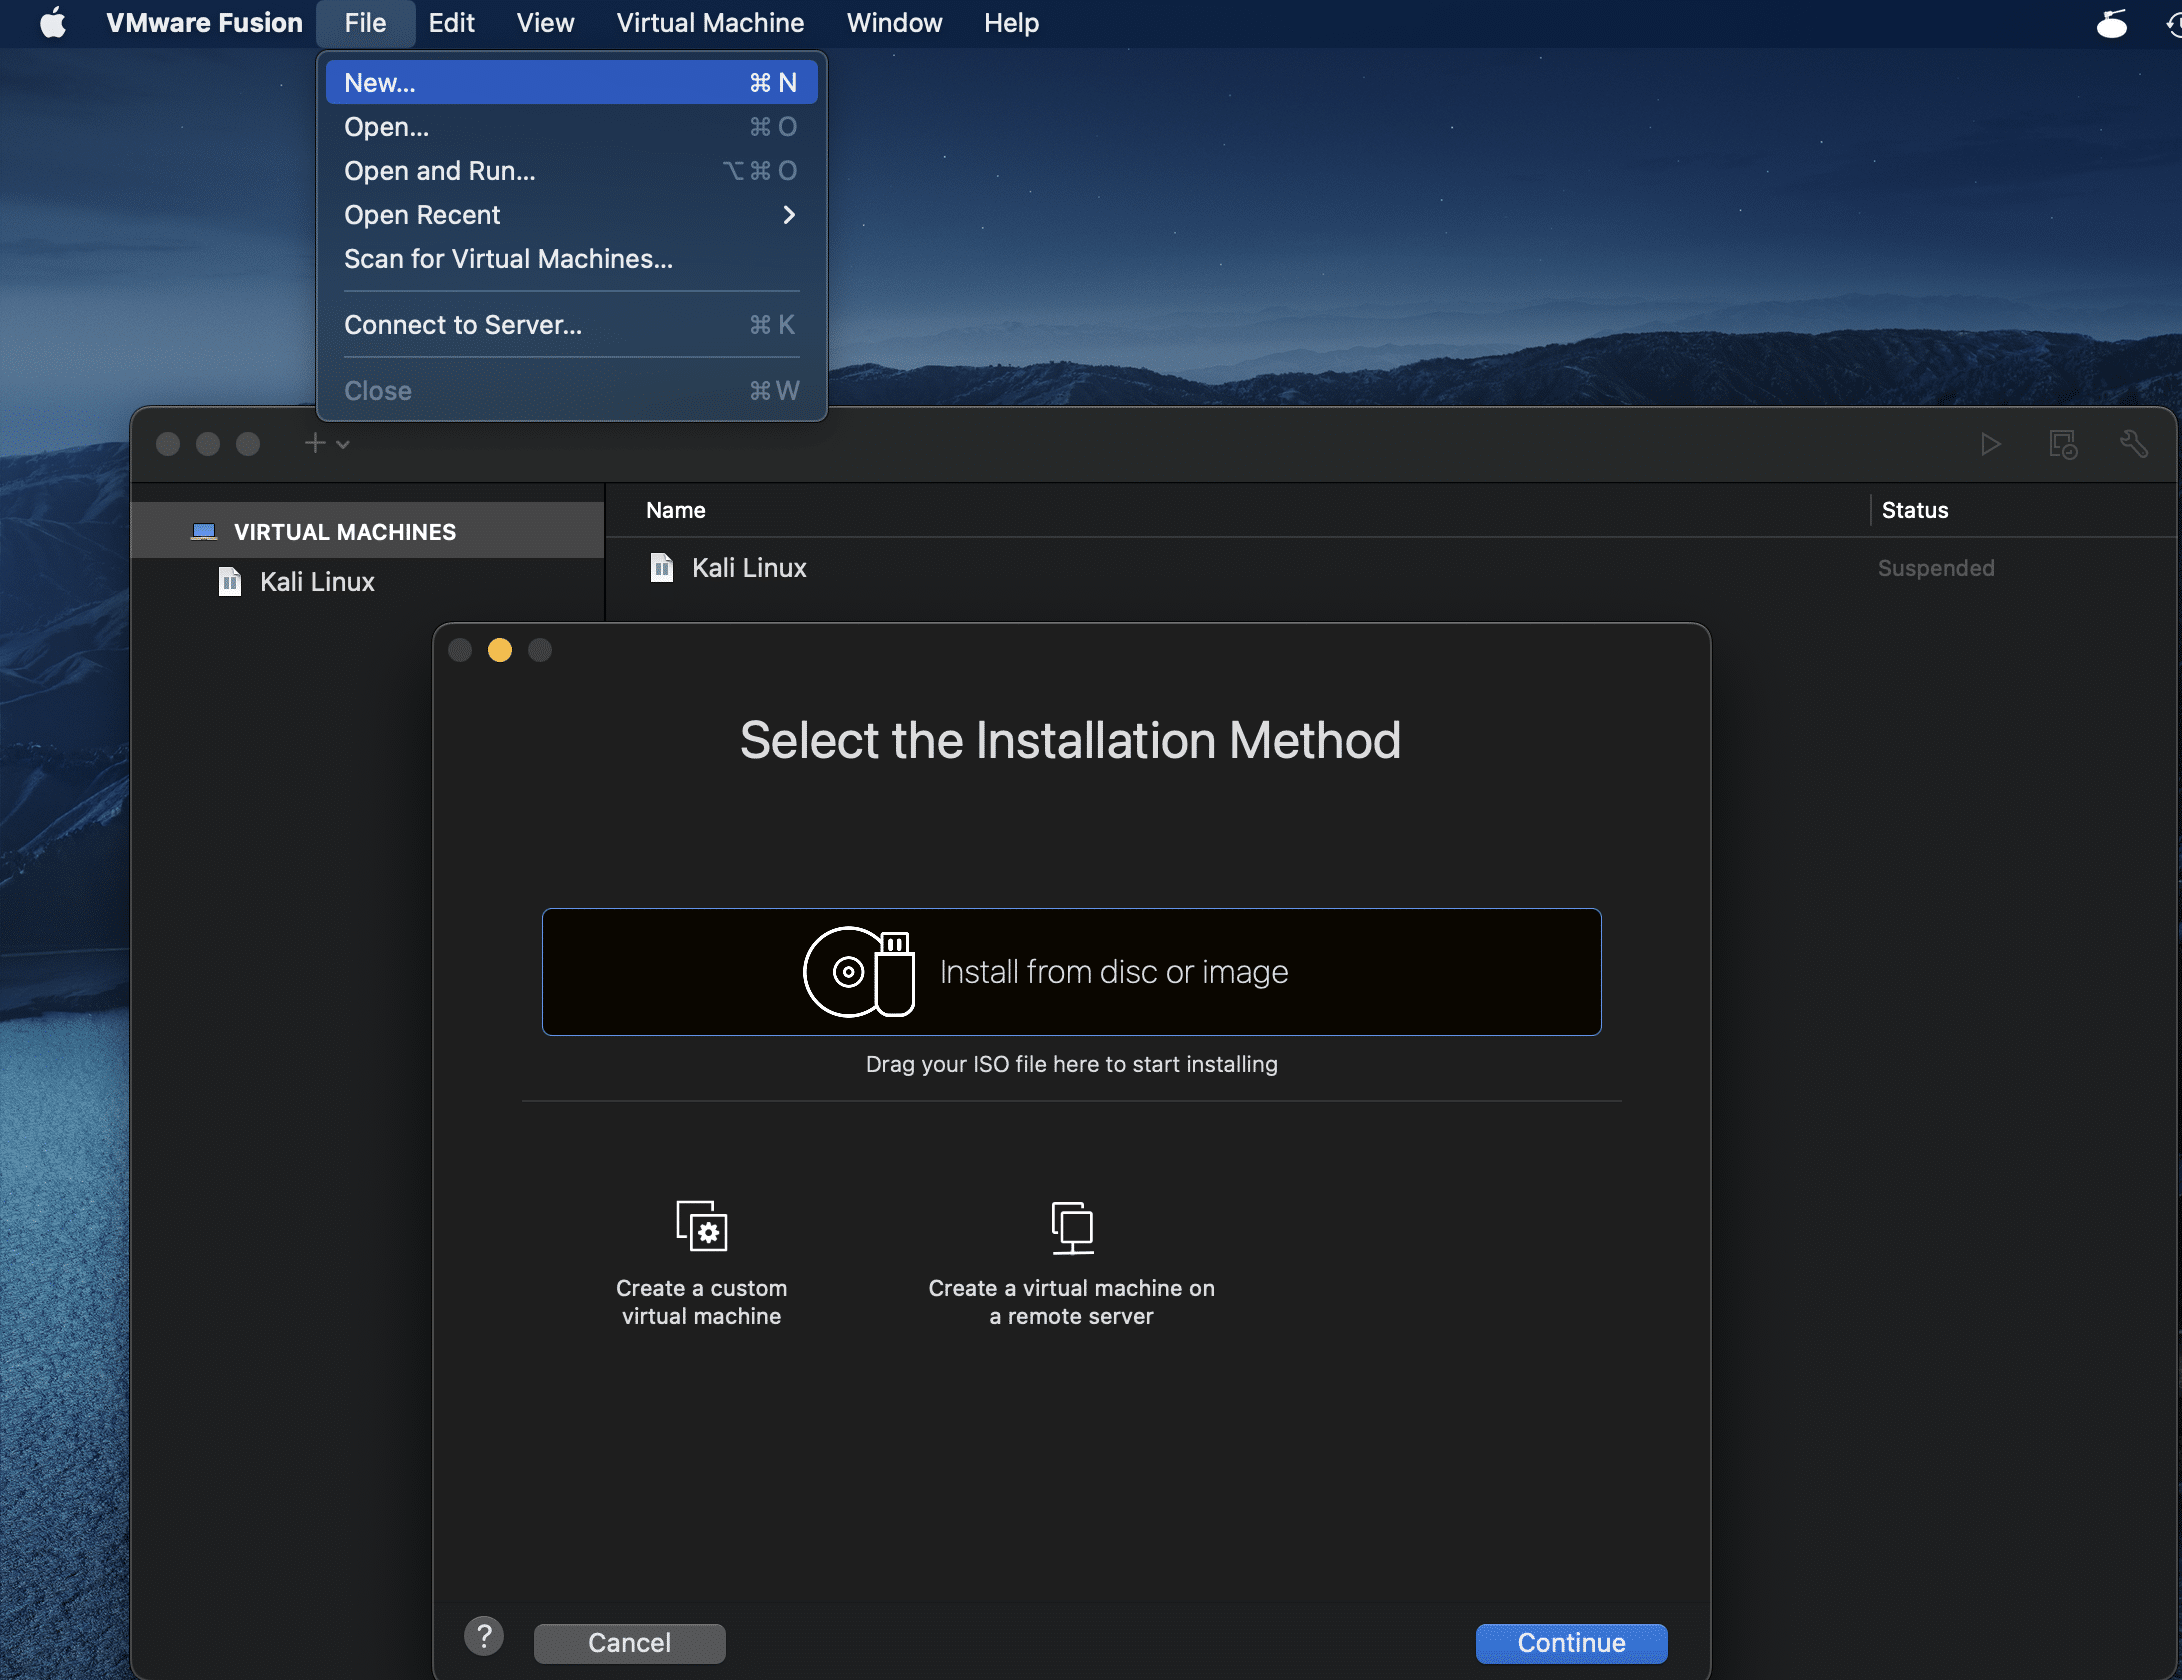
5.- Let's go to the menu>File>New>Create Custom Virtual Machine:
6.- Select the operating system, the capacity of the disk, the memory and the network. Later we will give in end. It will ask us for the path where the virtual disk will be saved and a name
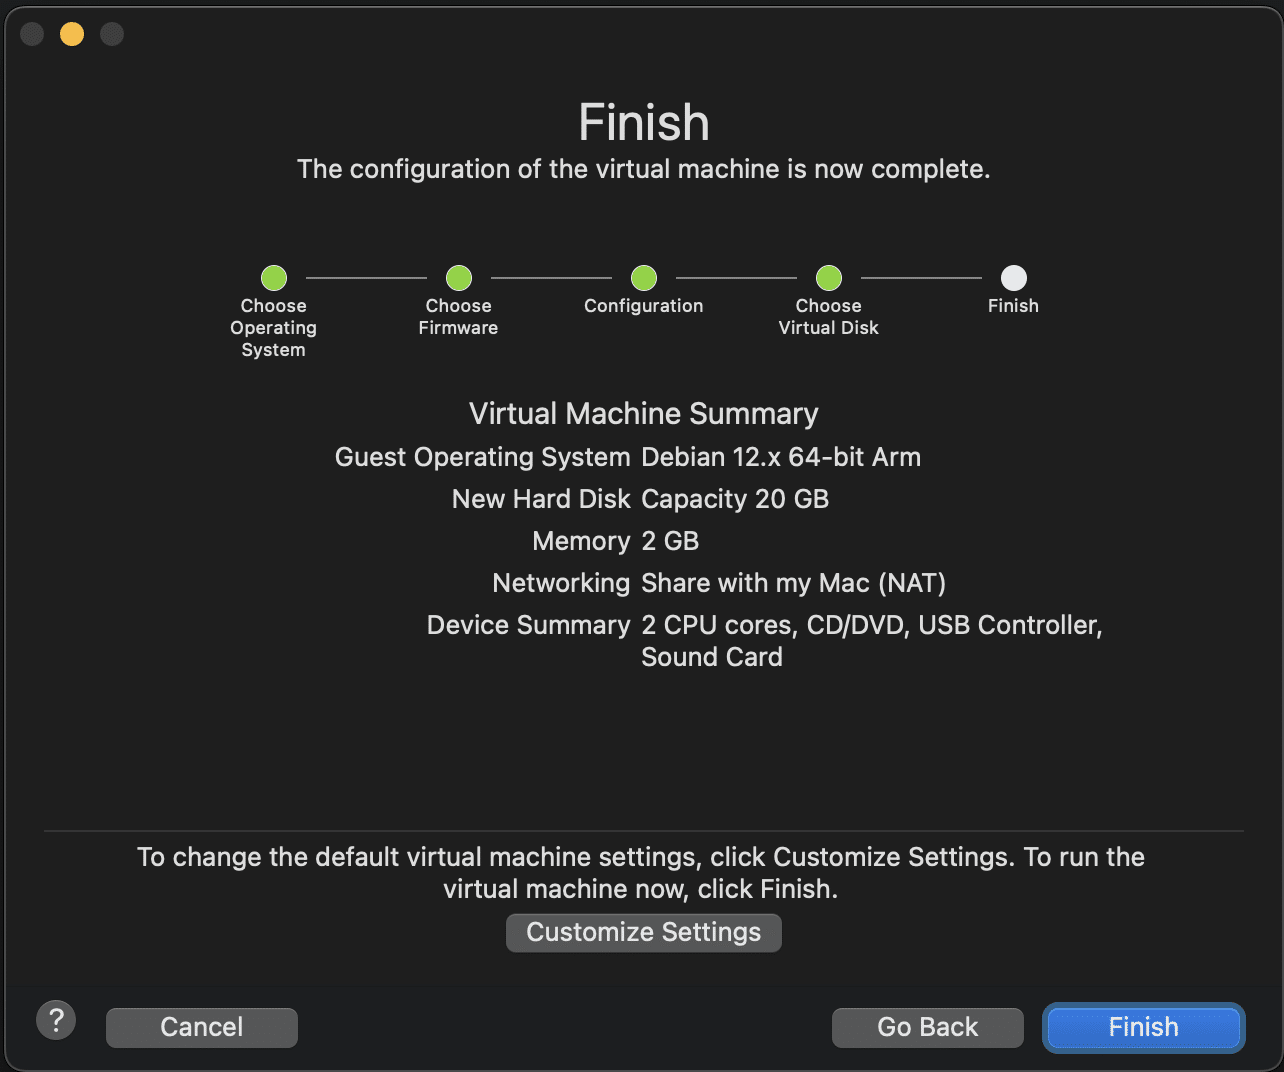

It is important that we do not start the machine yet as we will add one last step.
7.- Let's see that our machine is already created, finally we are going to give you options>settings>CD/DVD (SATA).
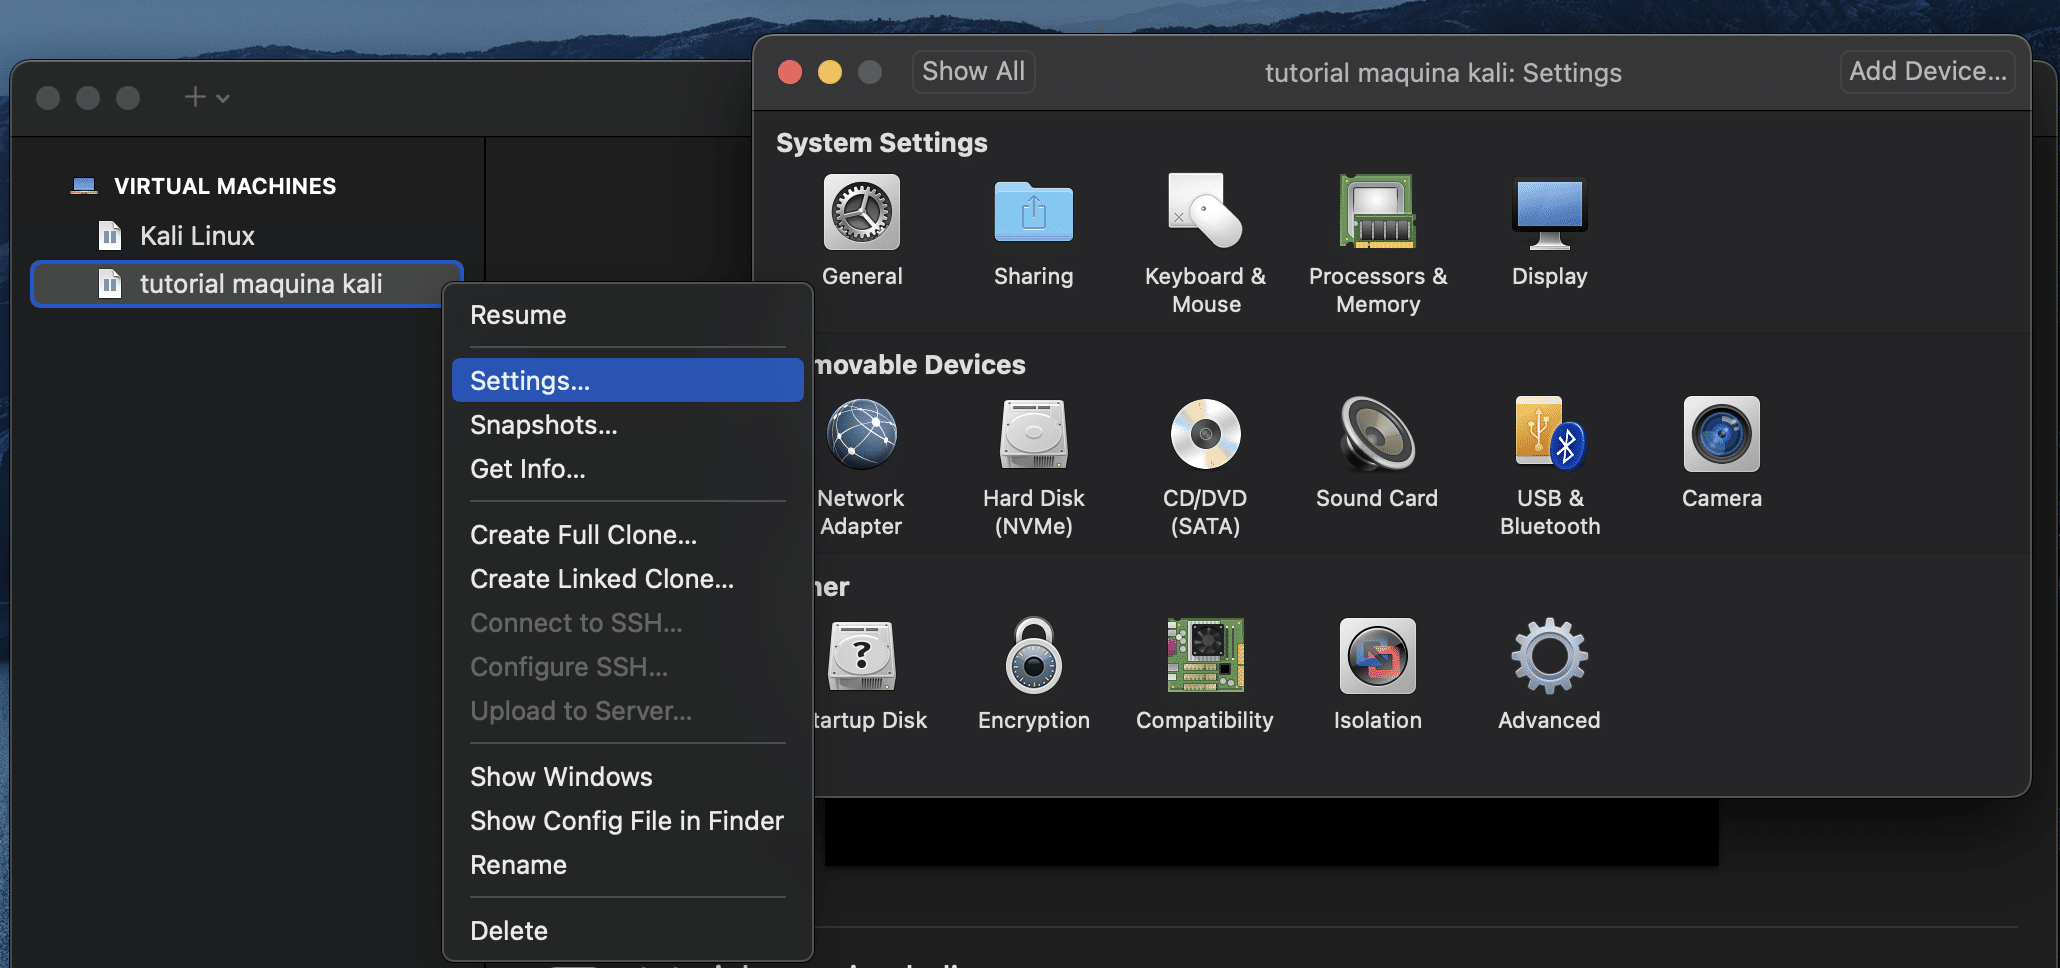
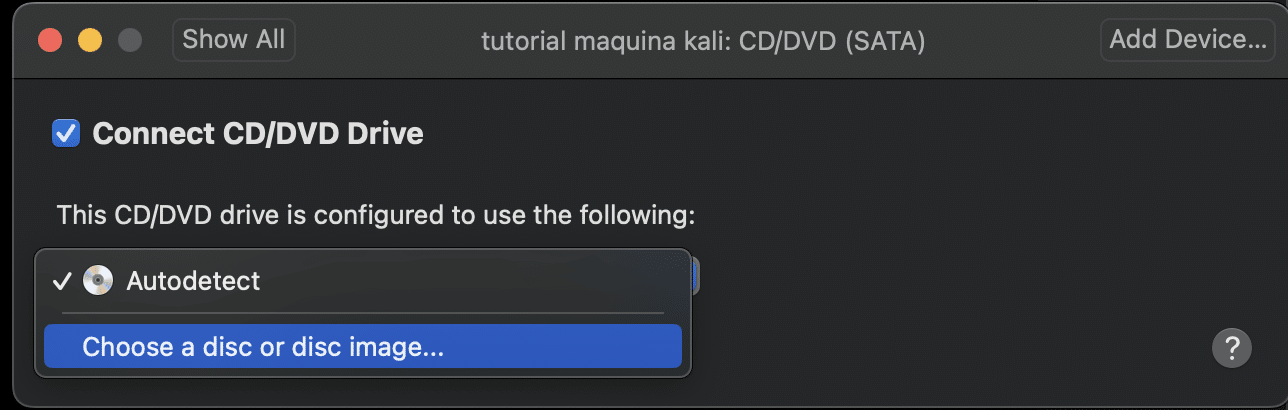
Then a window will appear, click on connect CD/DVD drive, and choose the option of "choose a disk or disk image"
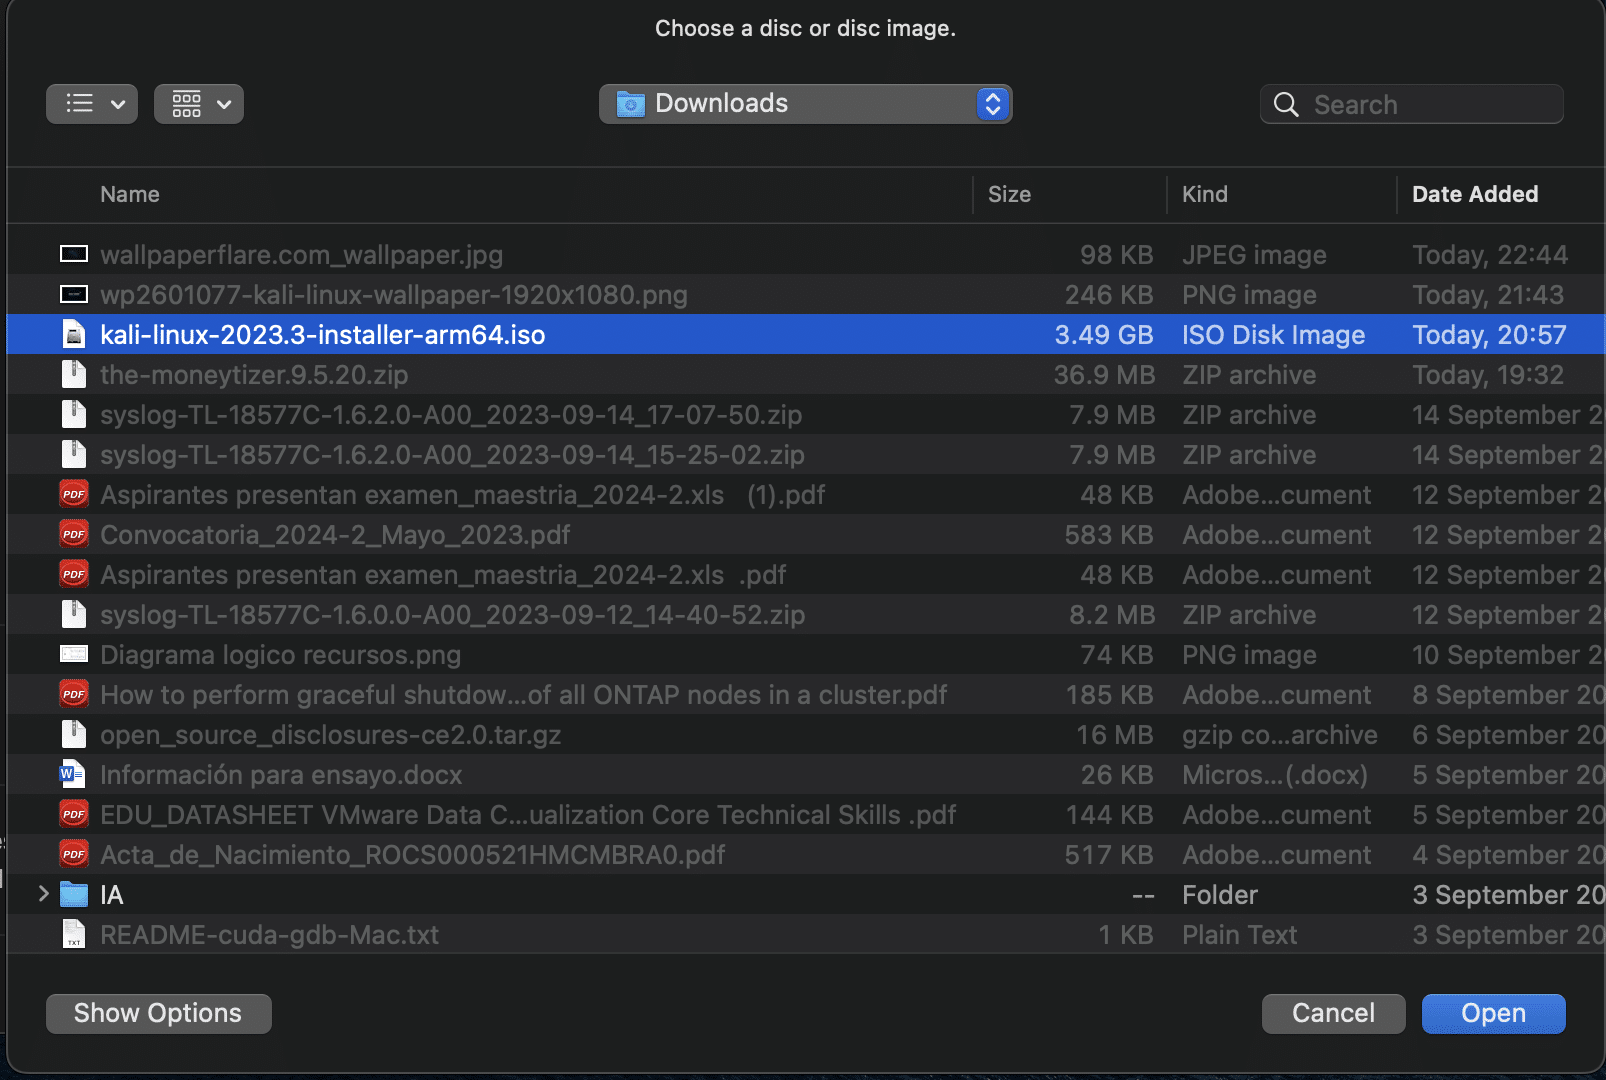
We look for the iso image of the kali linux installer and click on accept.
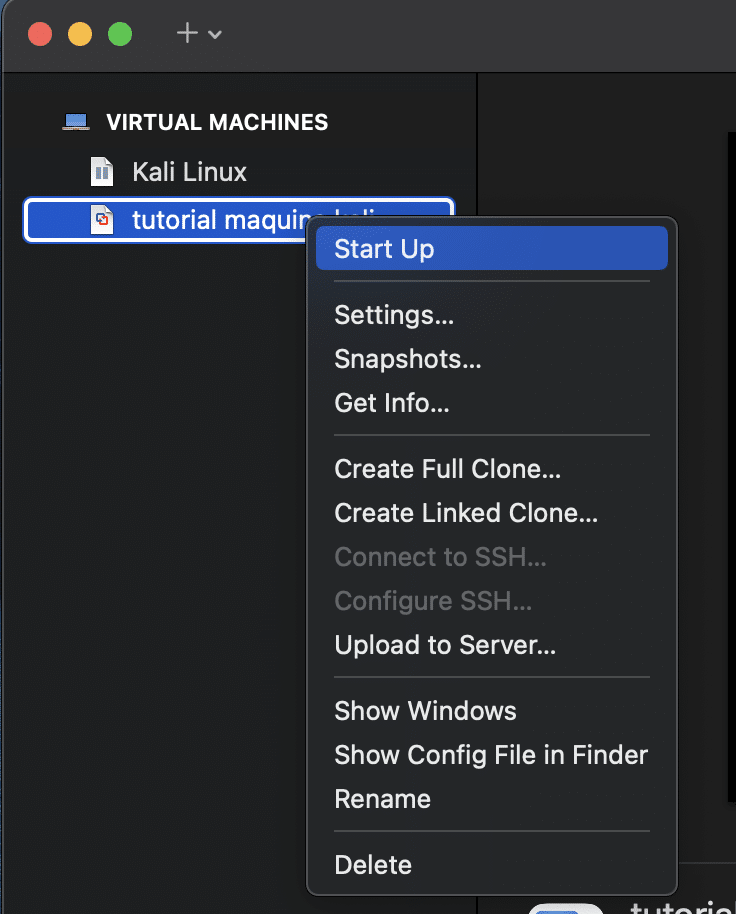
9.- We start the virtual machine by double clicking on the start option.
Installing Kali on VMware Fusion
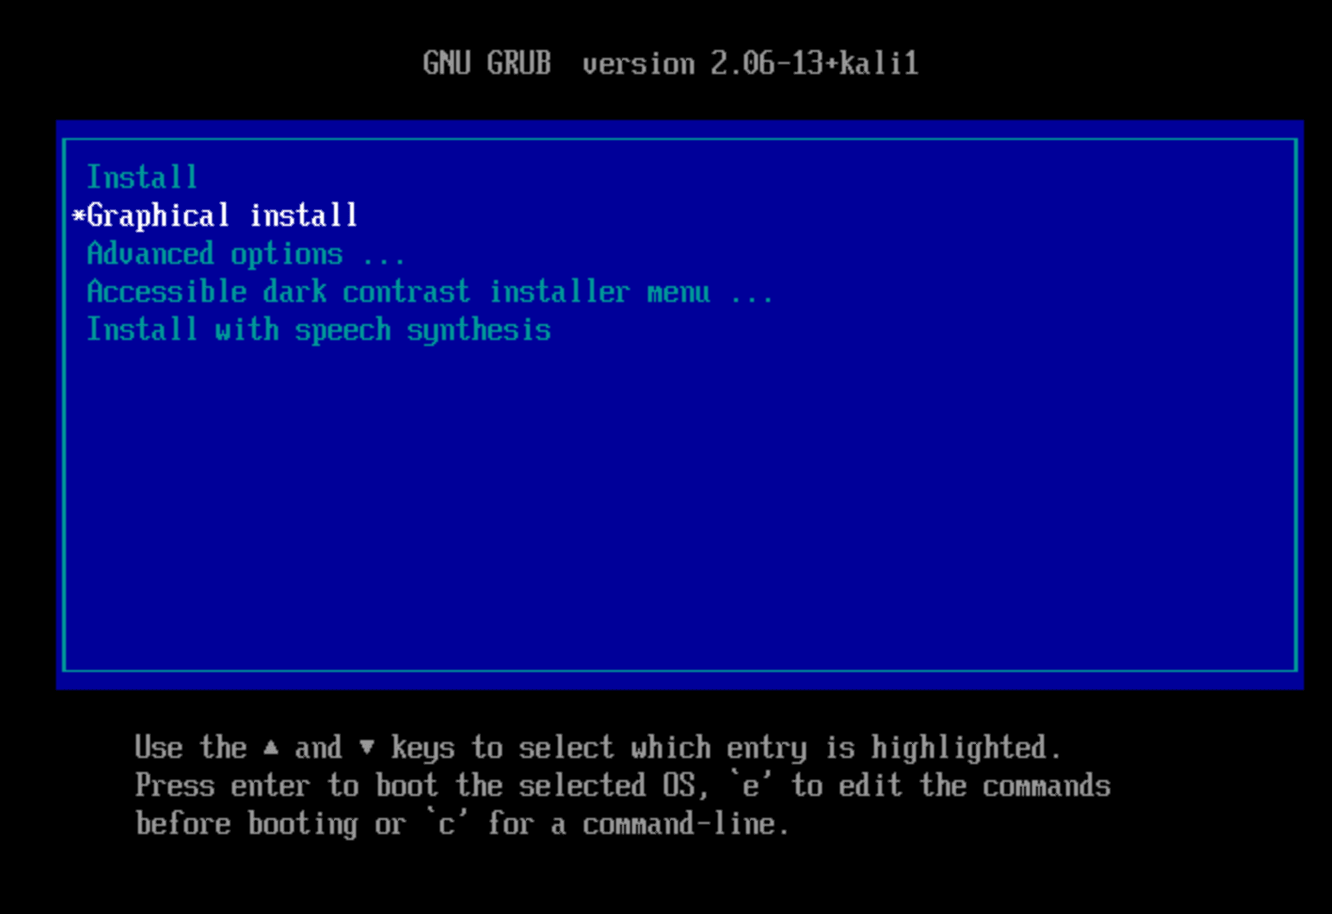
After having created and prepared the machine, we are going to install kali linux, once booted the machine will show an installation boot screen:
1.- We will go down to the option of graphic installation and we will give enter. It will begin to load the necessary.
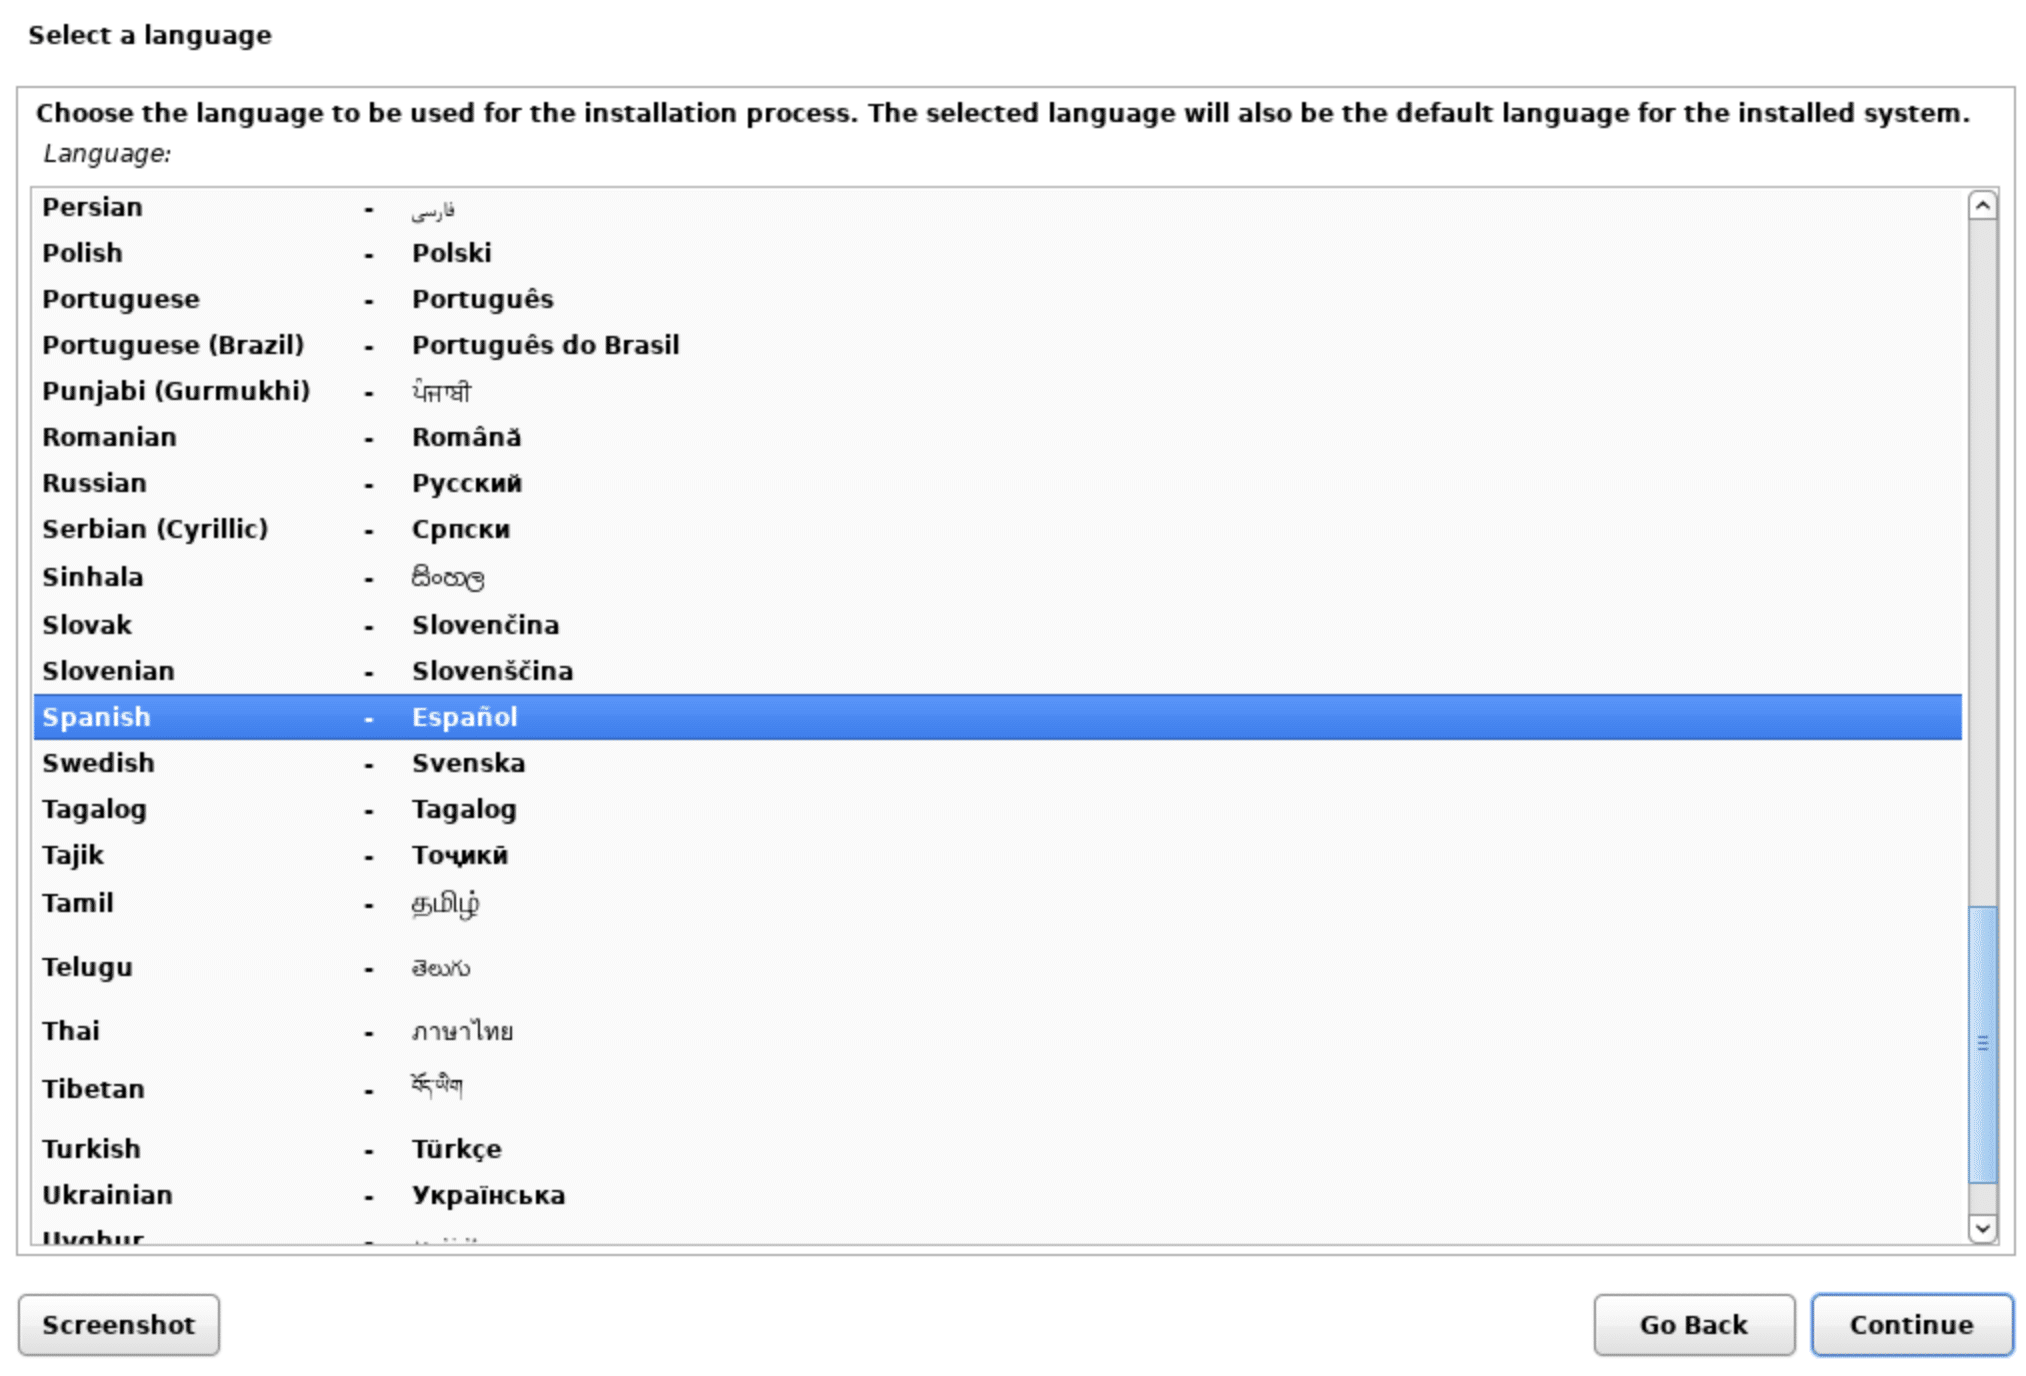
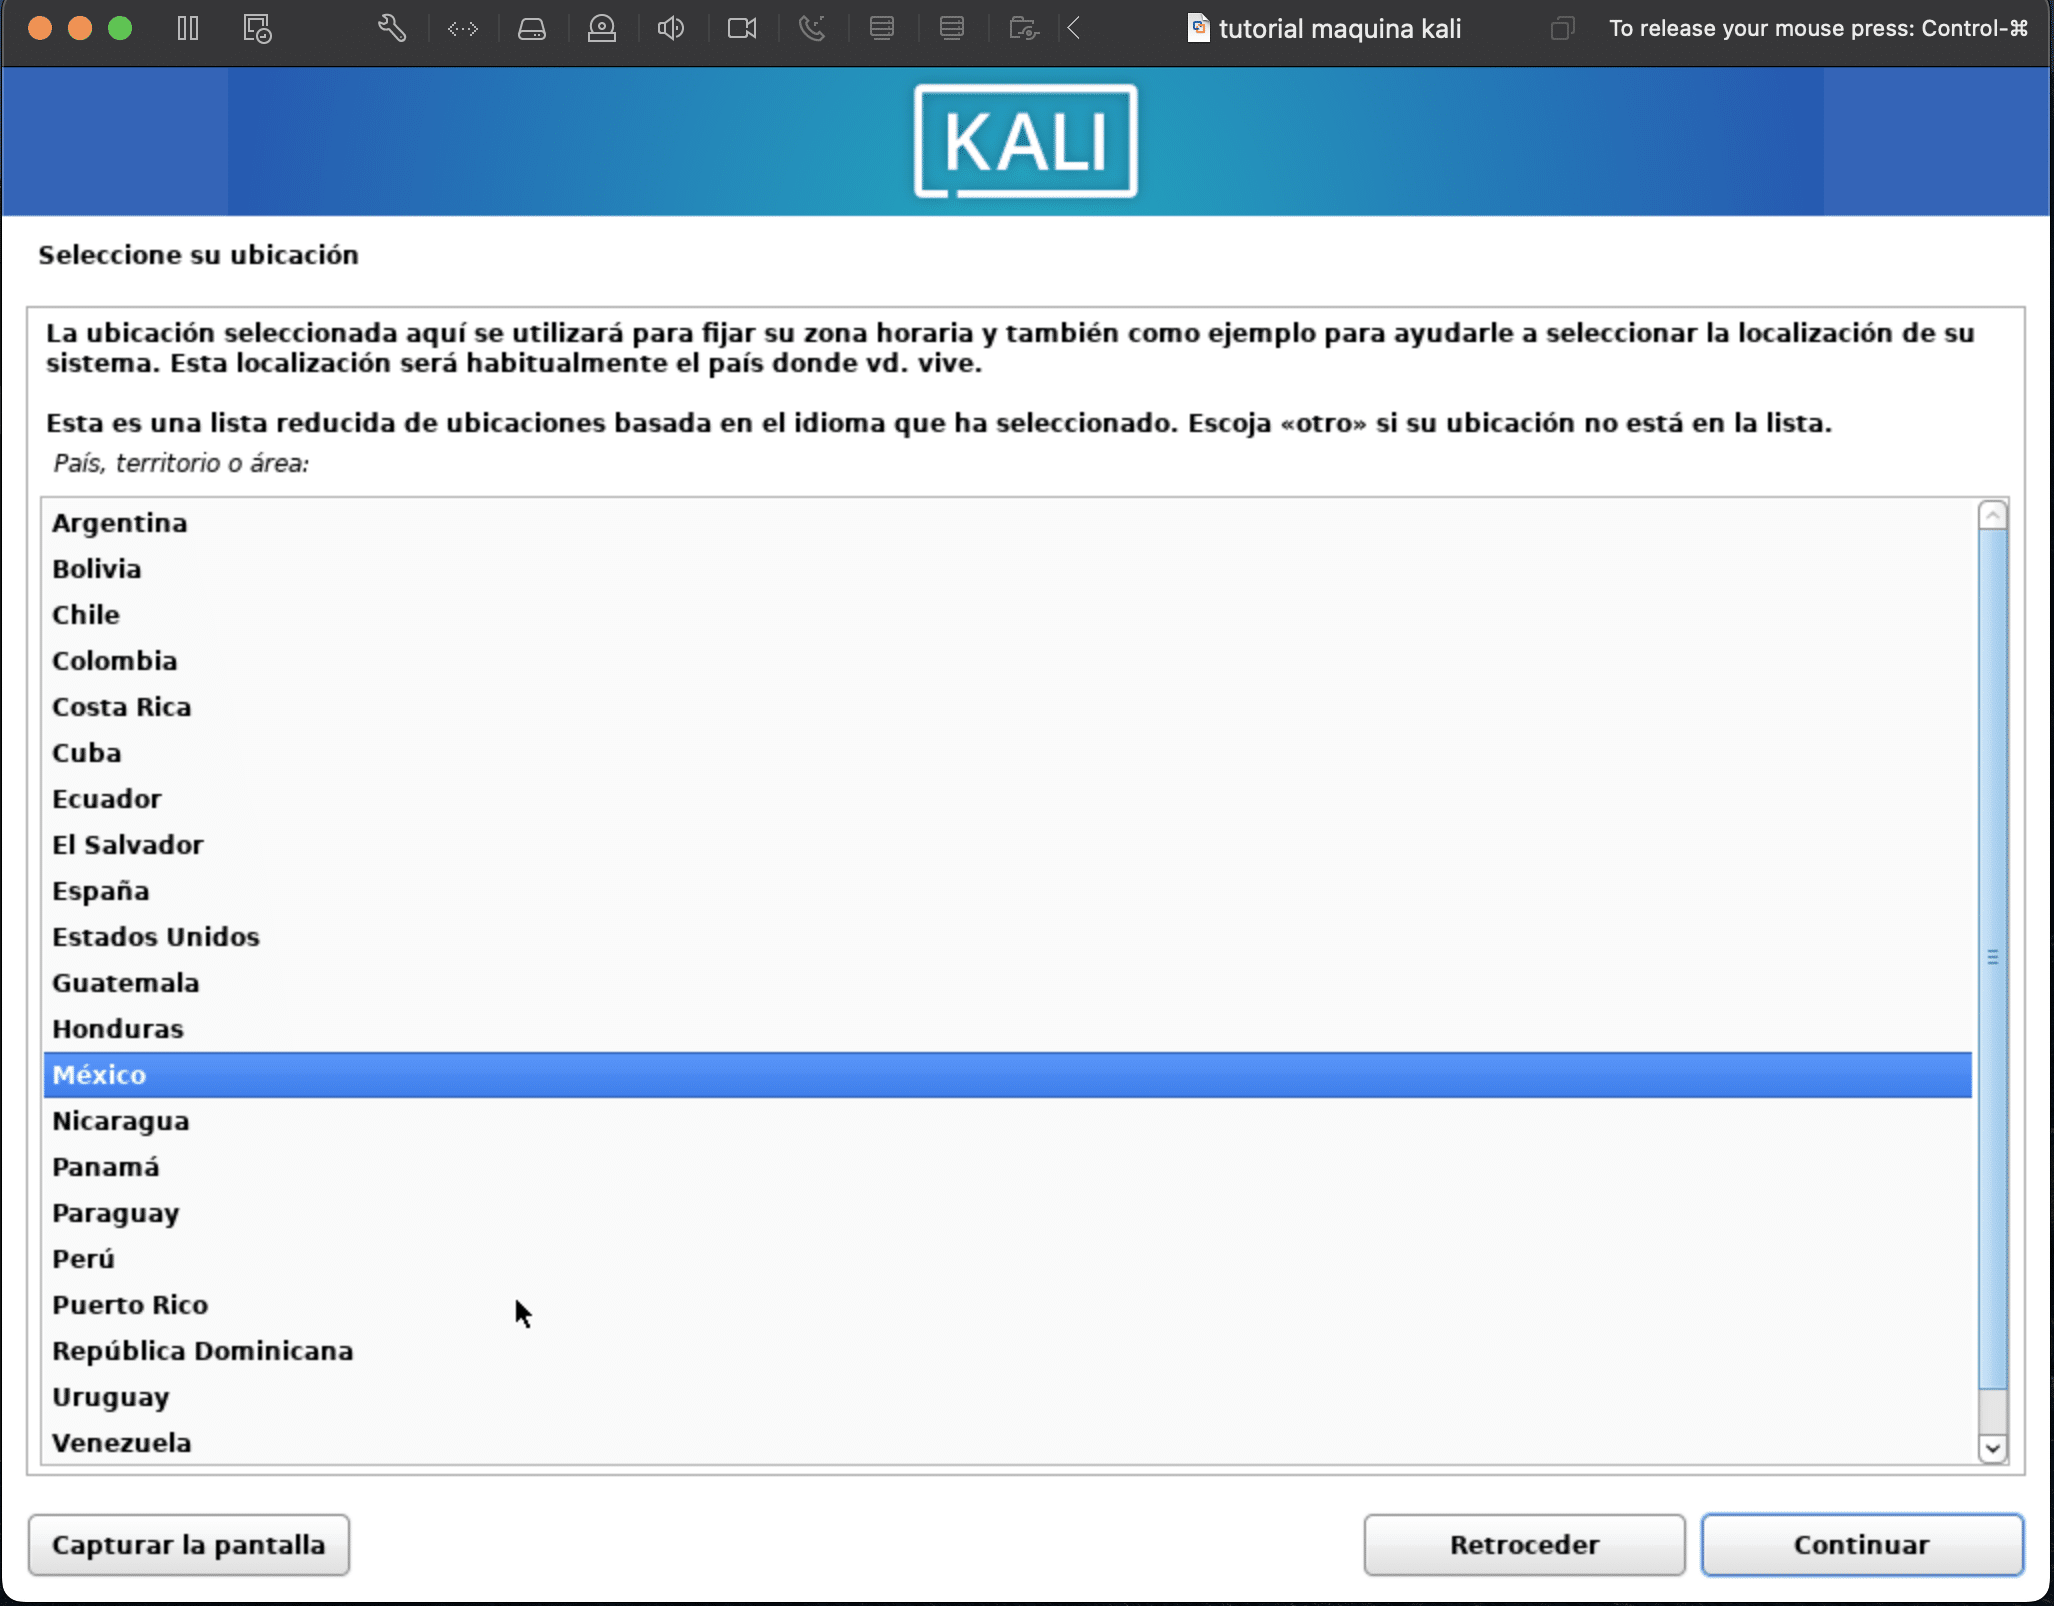
2.- Select your language, country and click on continue.
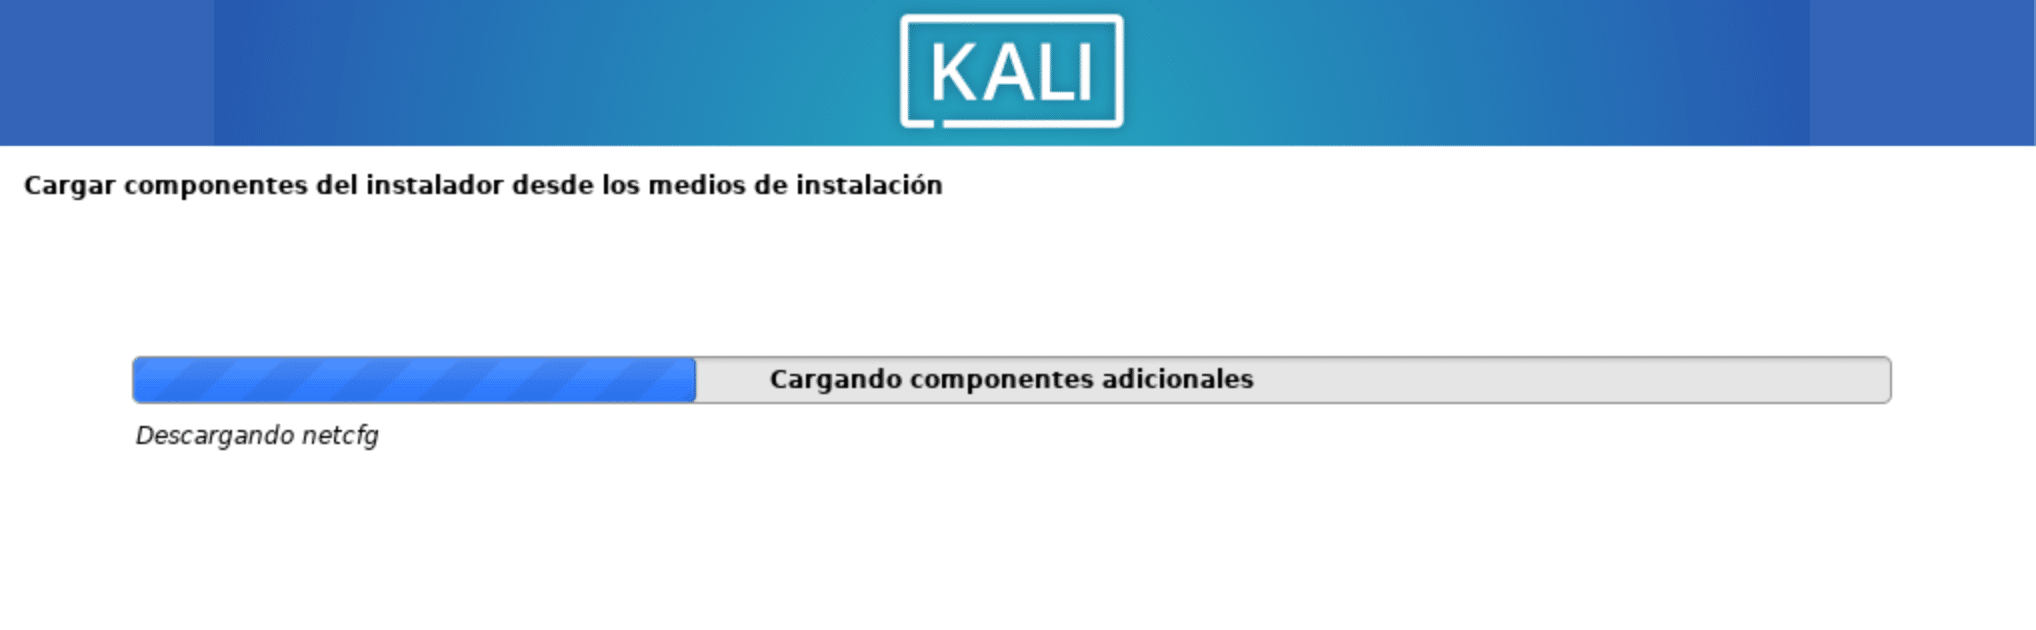
3.- It will start loading the image files.
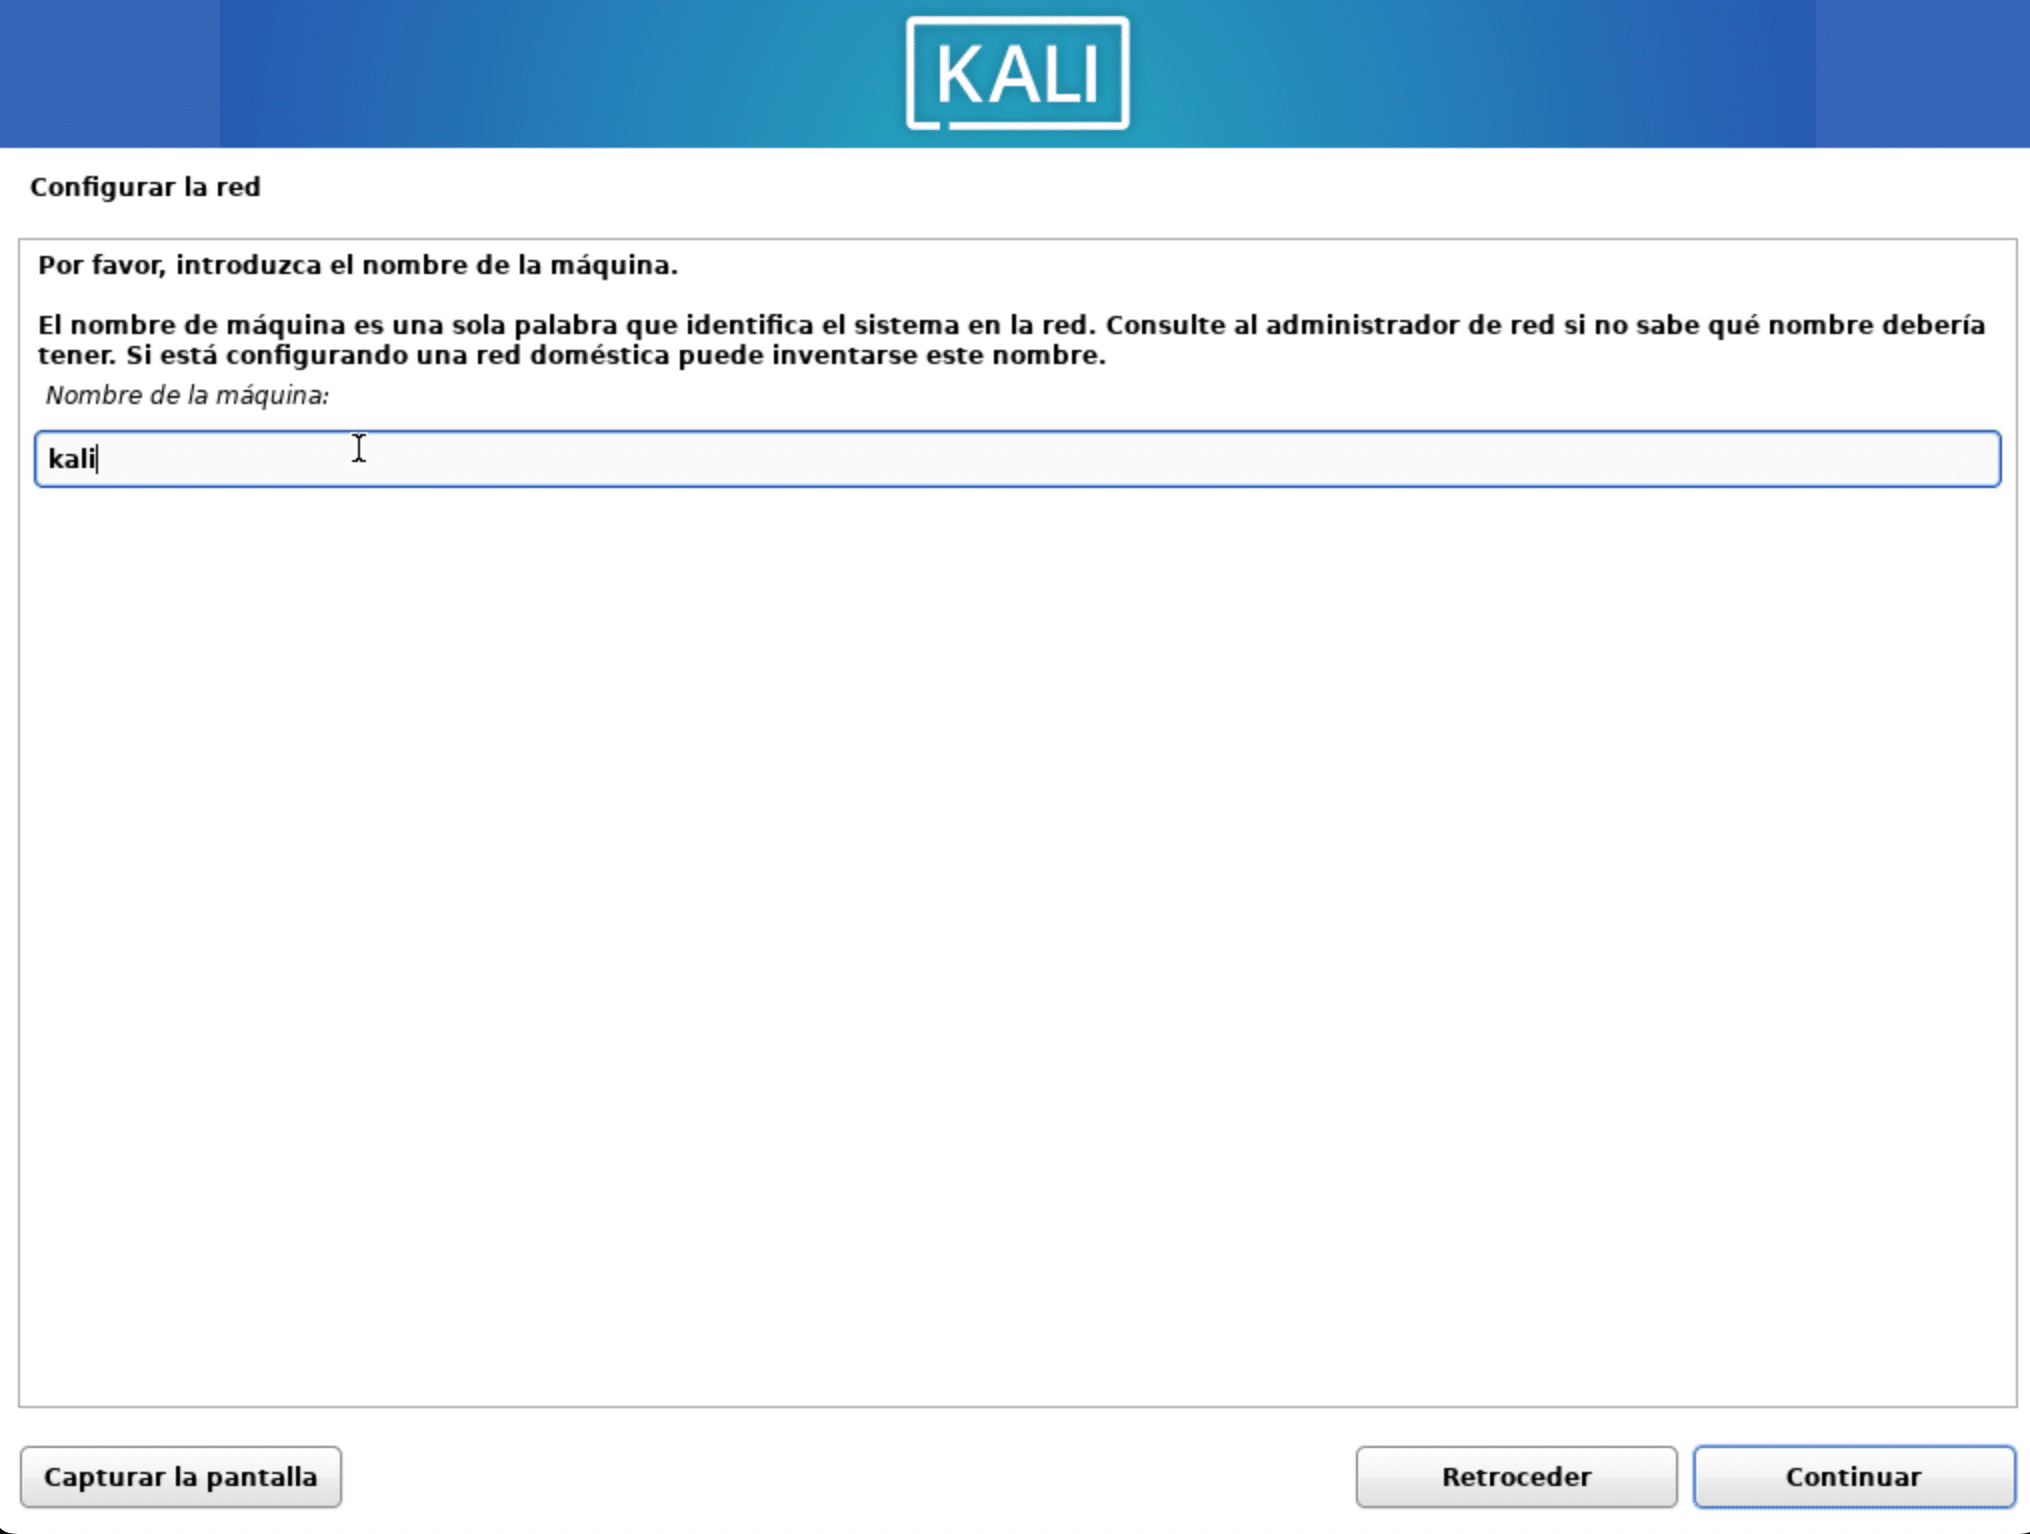
4.- We write the hostname and then click on continue. We leave the domain name blank

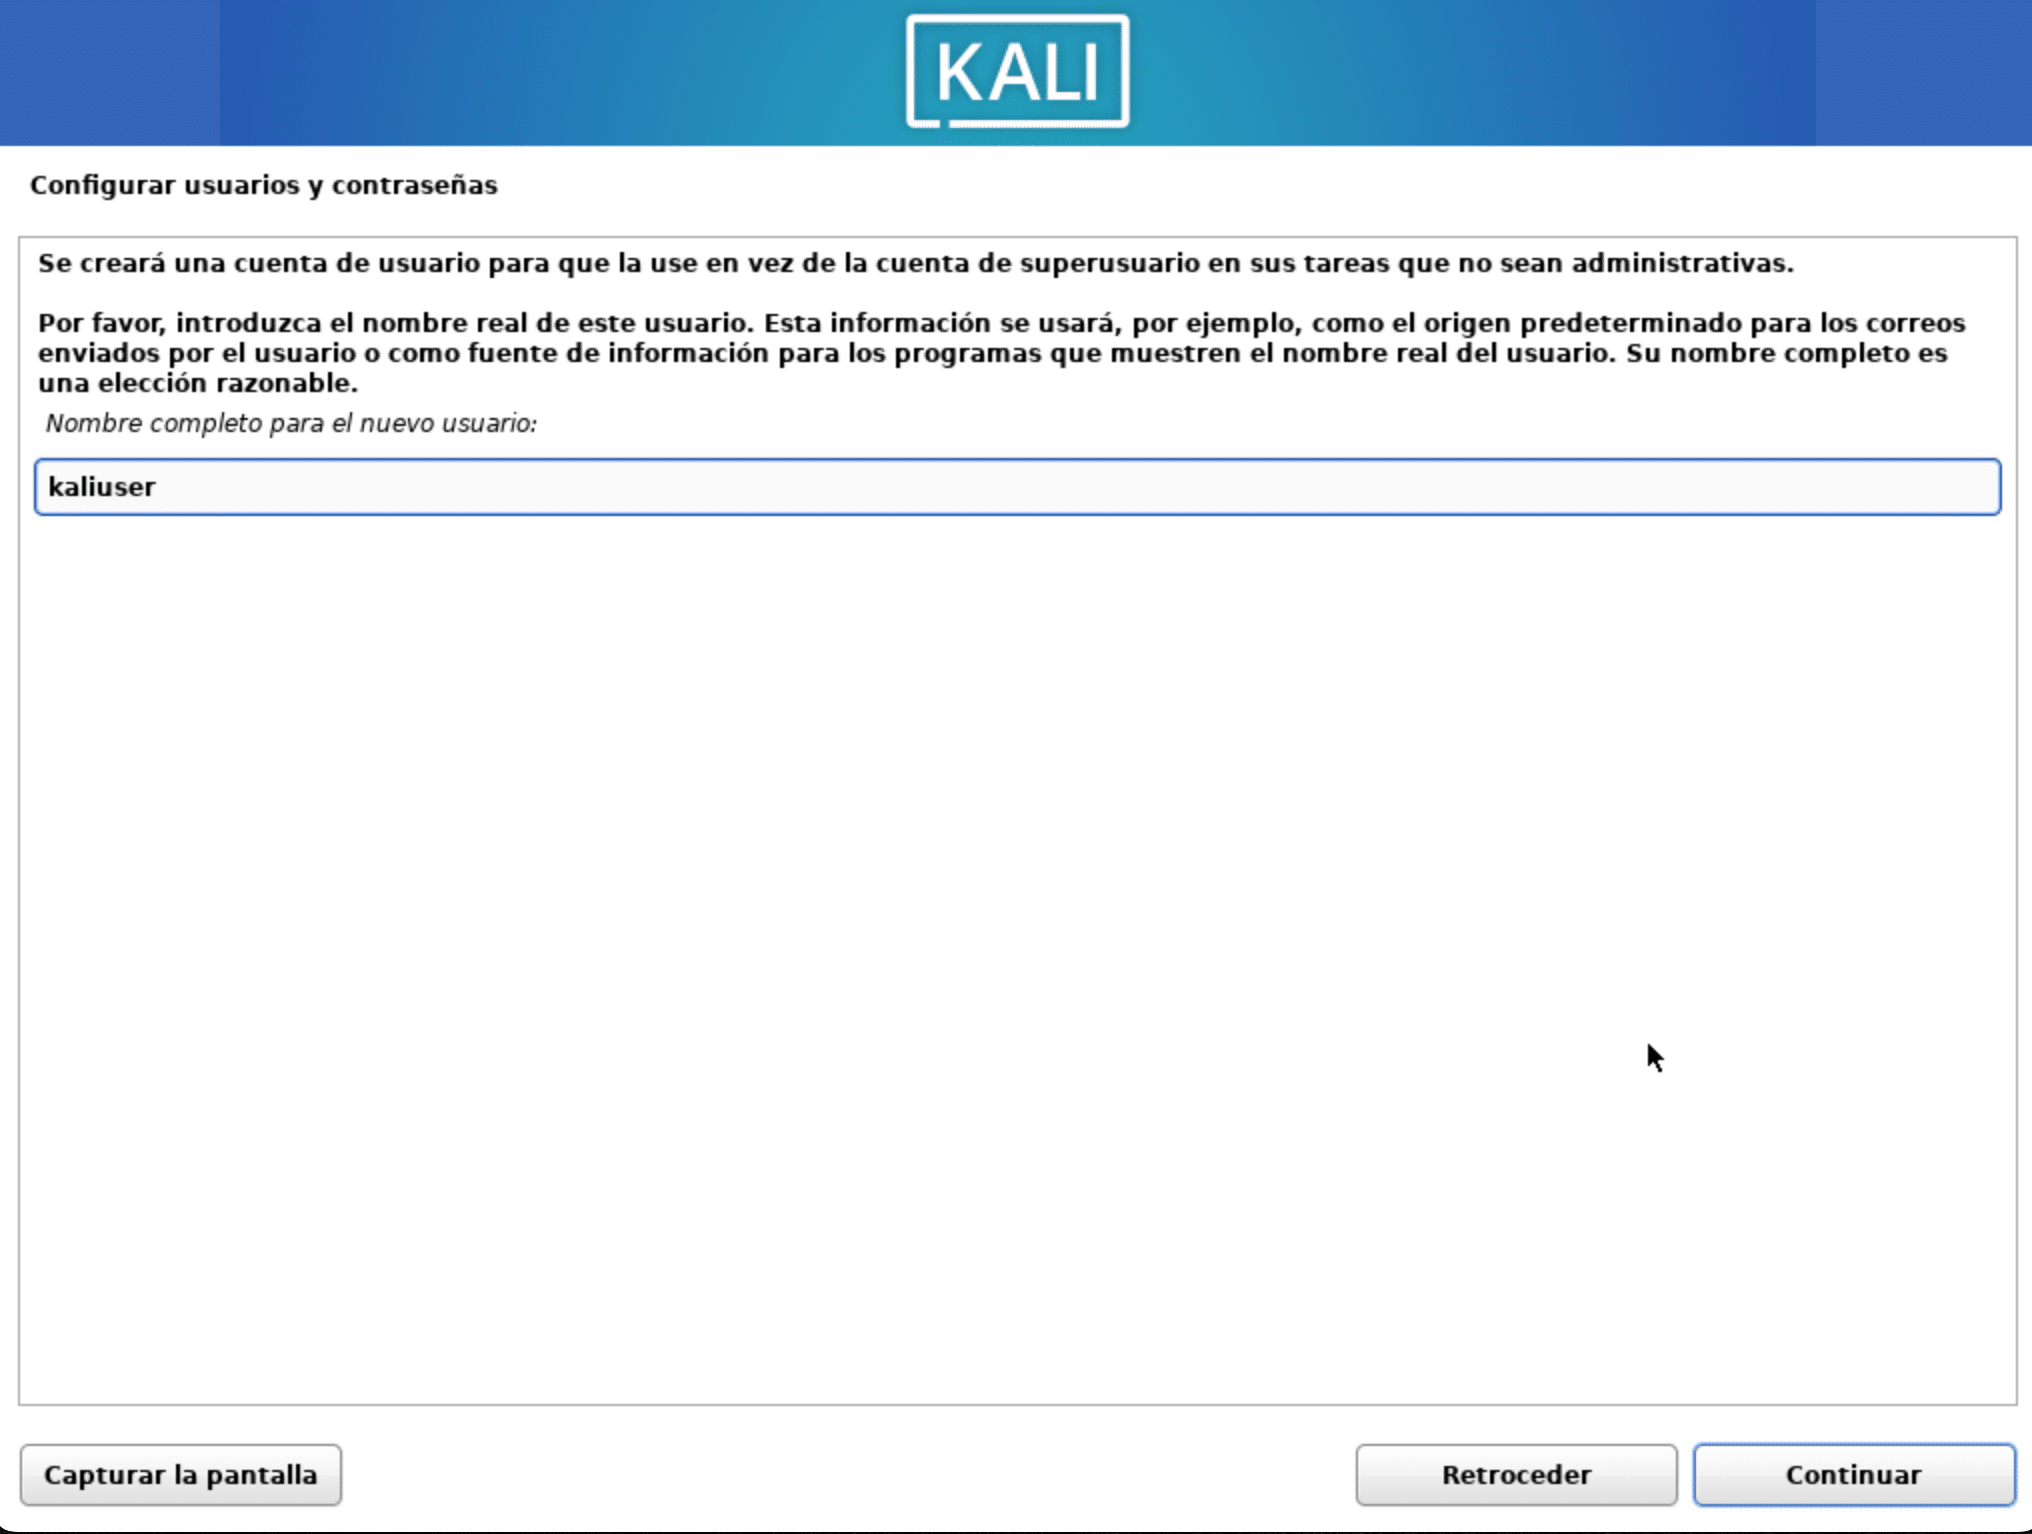
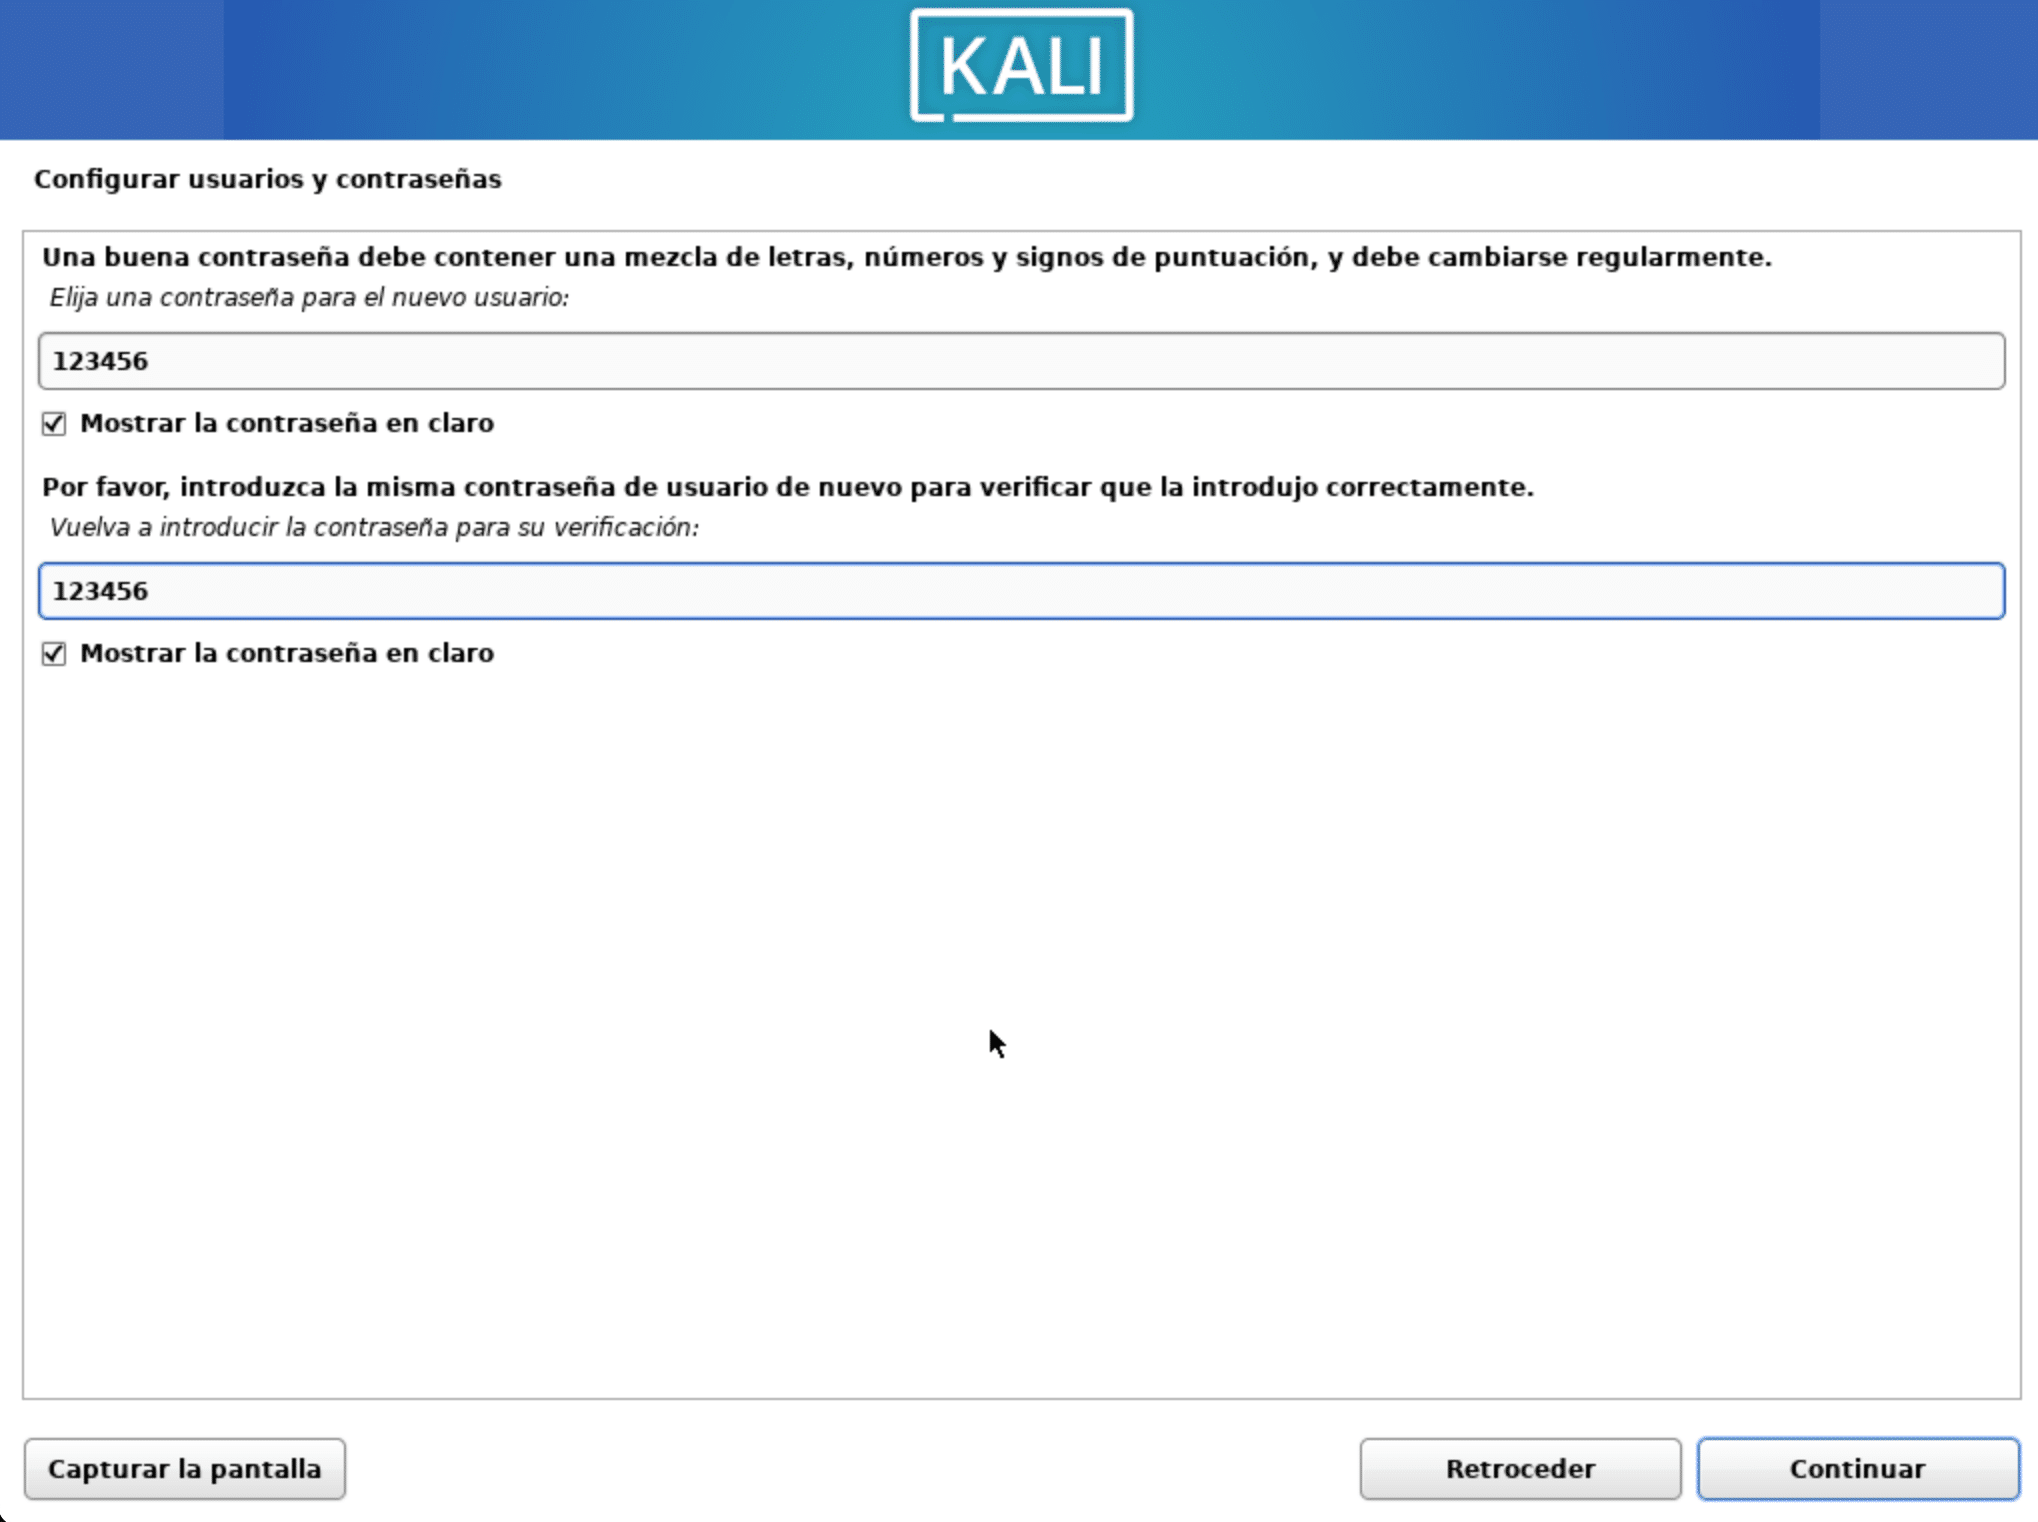
5.- Choose a user name and password for the operating system and then click on continue.
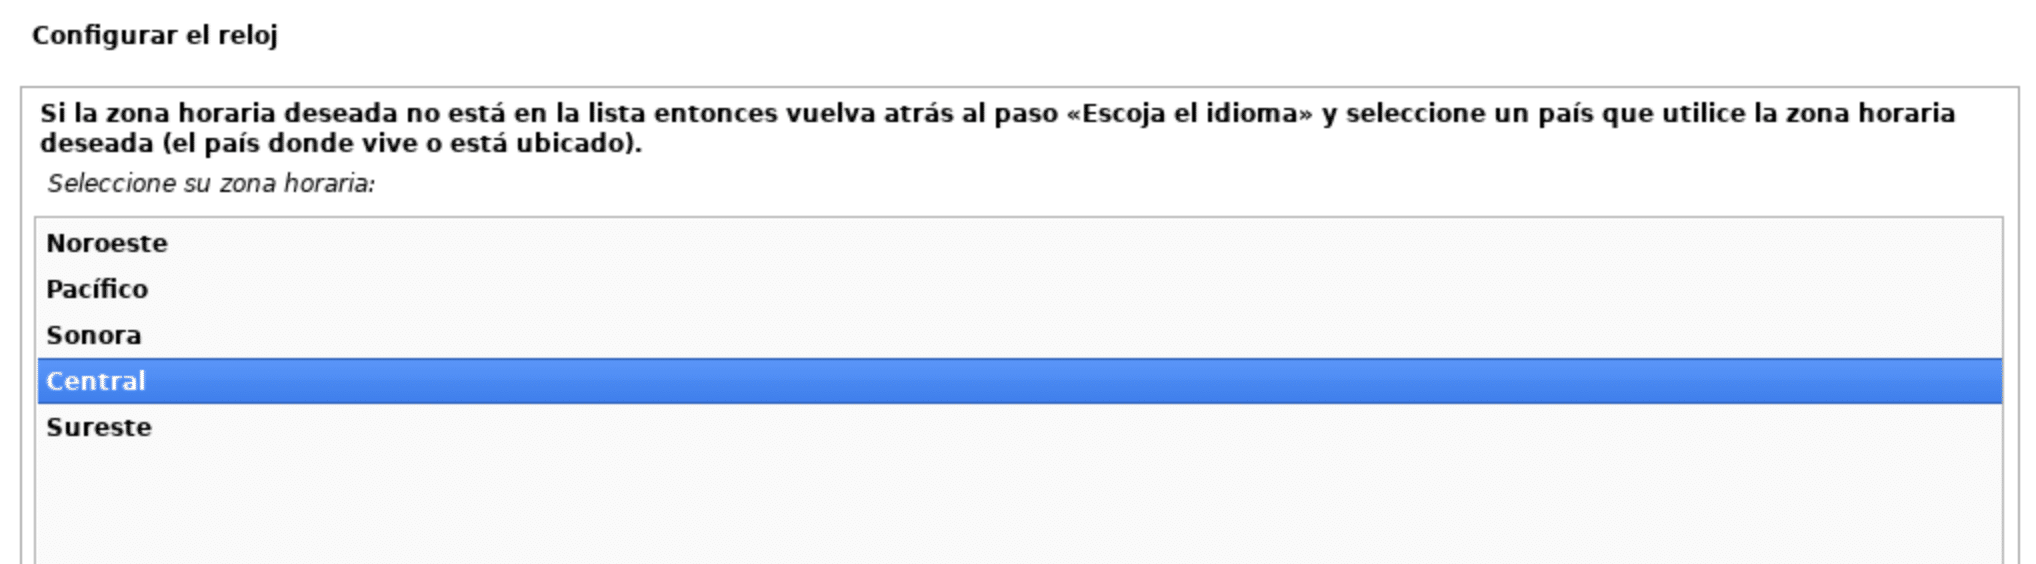
6.- Configure the schedule
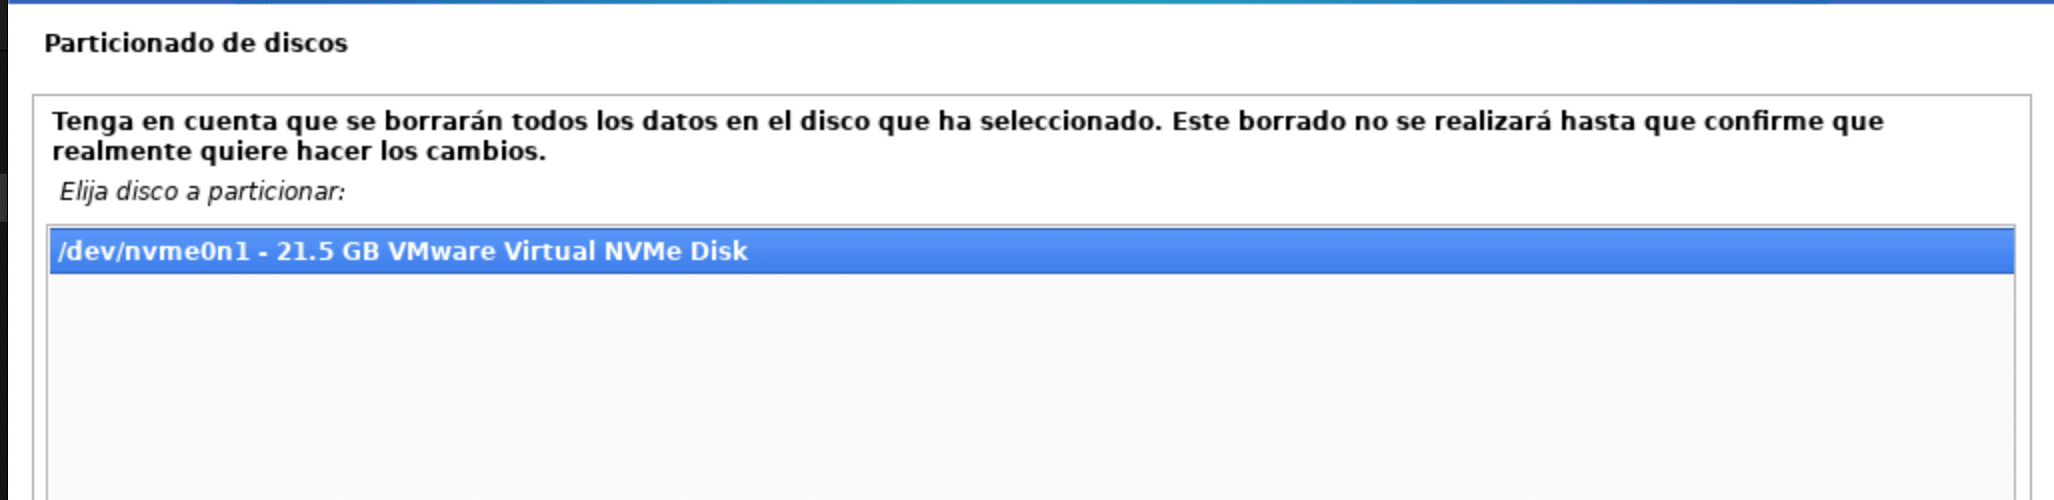
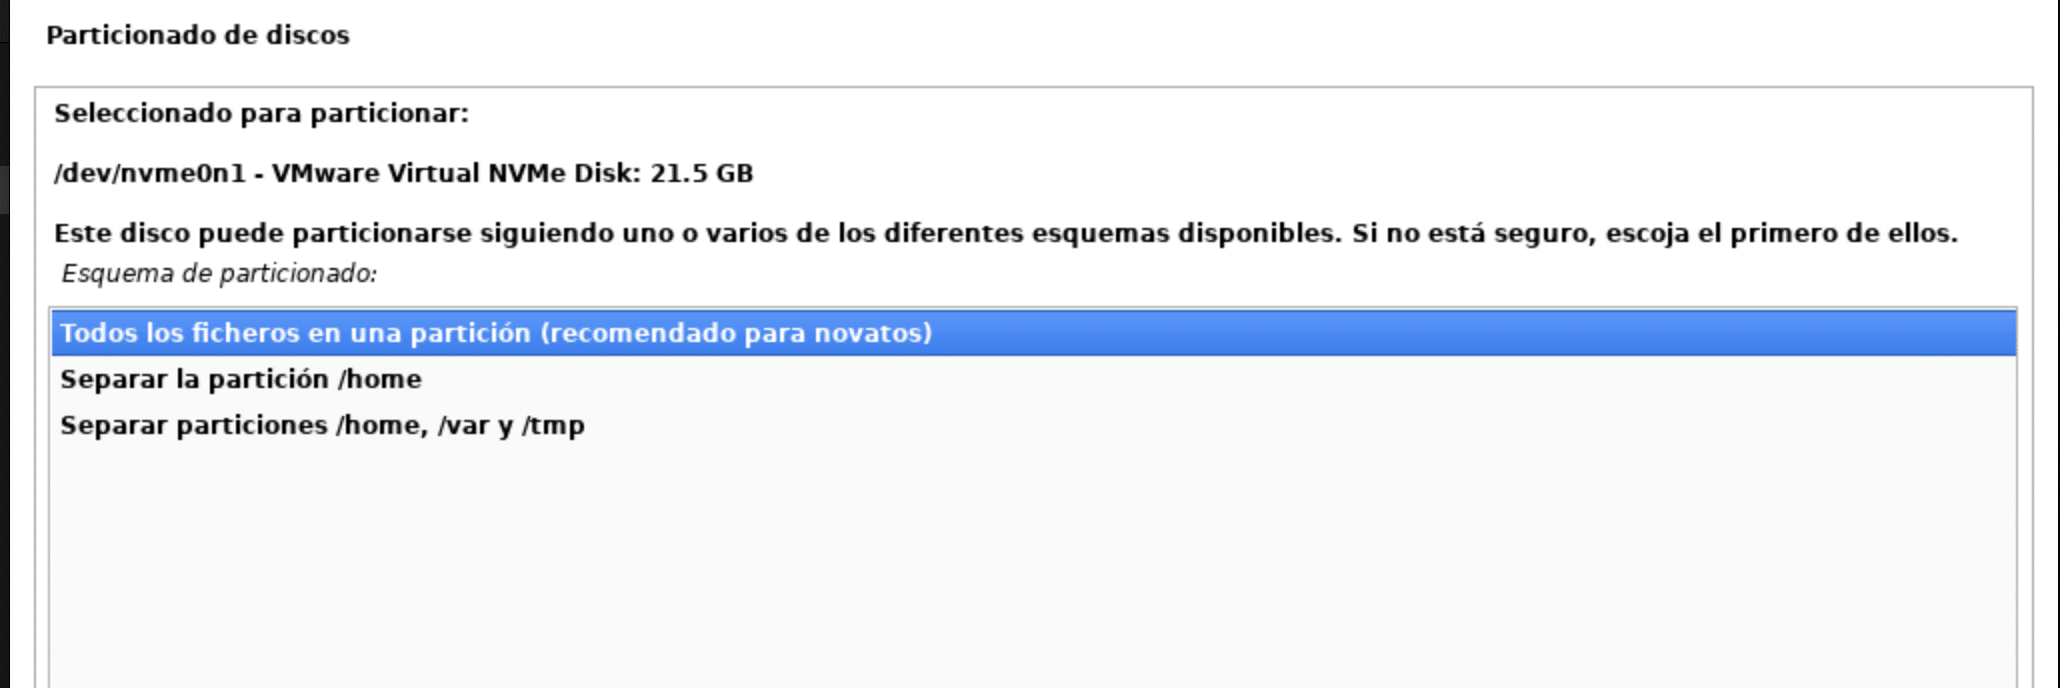
7.- We will choose in the disk partitioning the first option and then the vmware virtual disk.

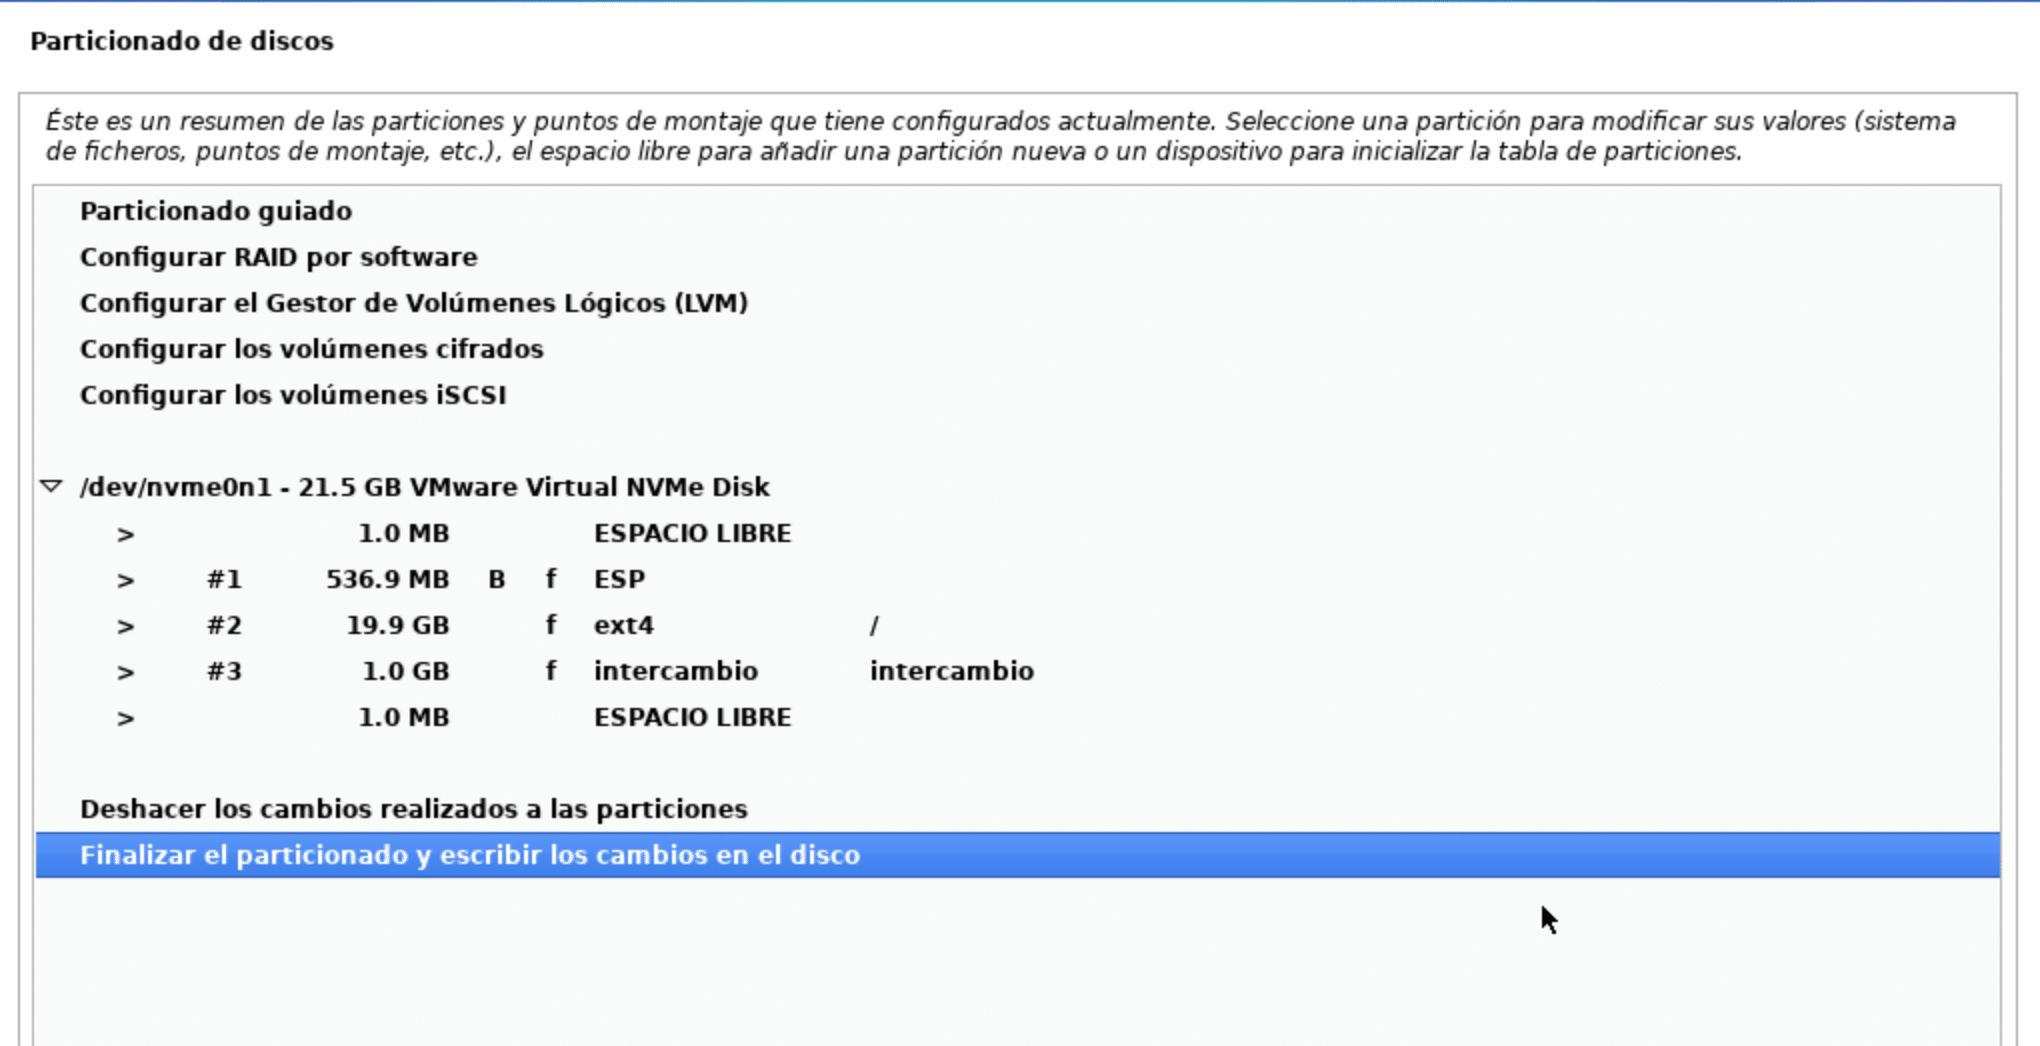
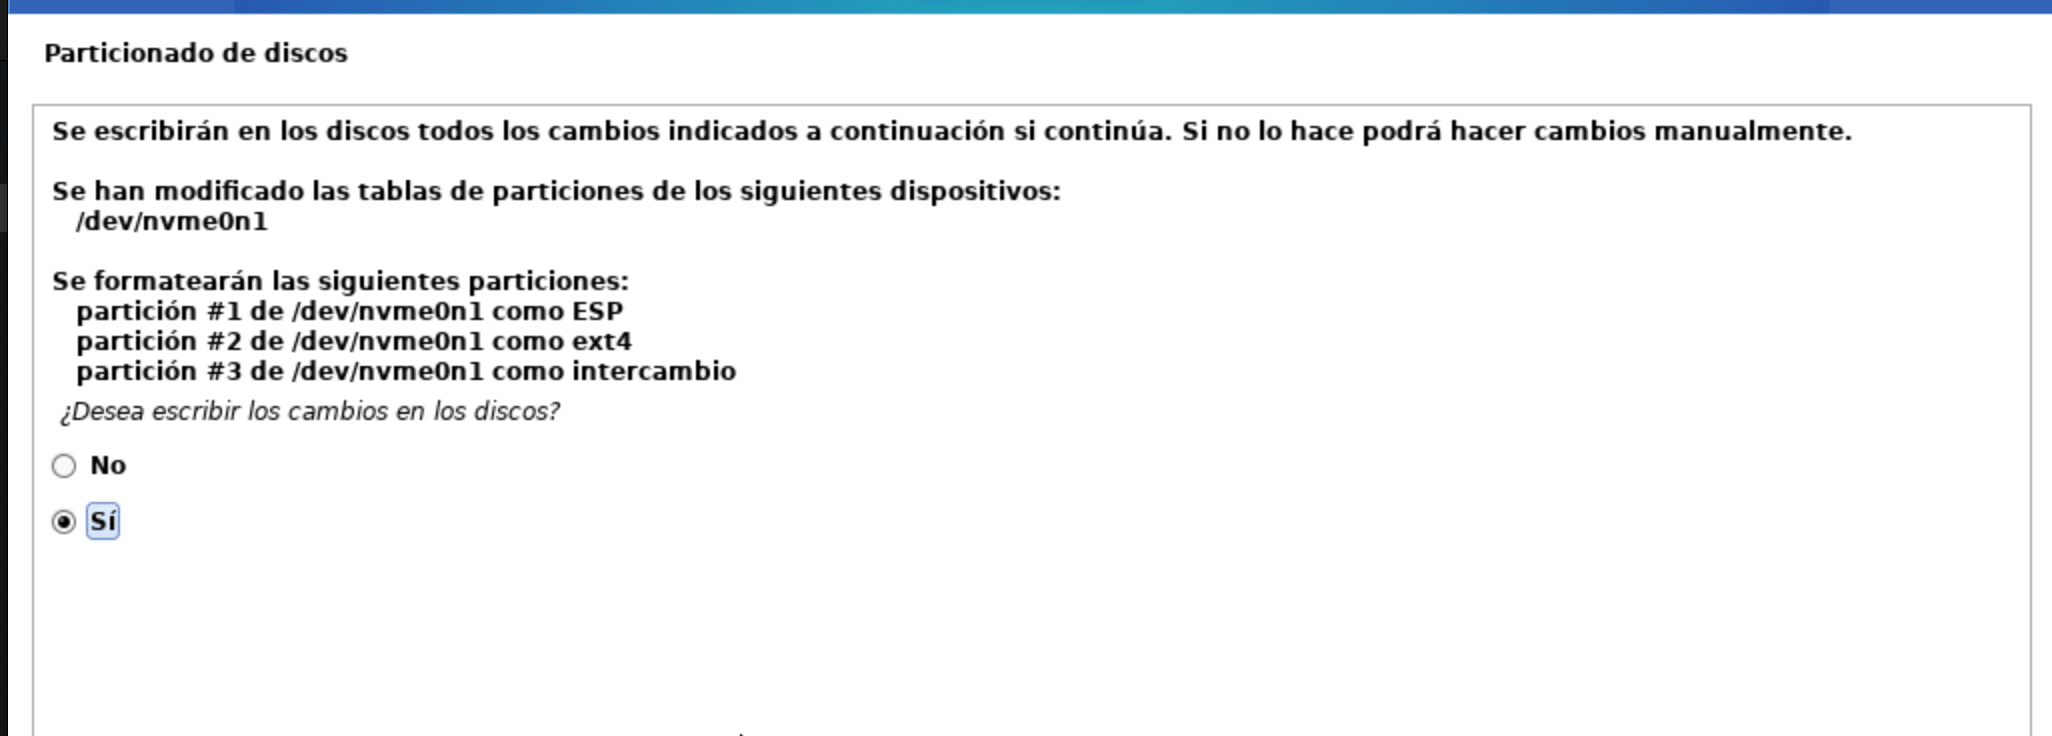
Finally it will ask us if we are sure to make the changes and we will give that "yes" and click on "continue".
9.- We wait for the installation to finish and that's it.

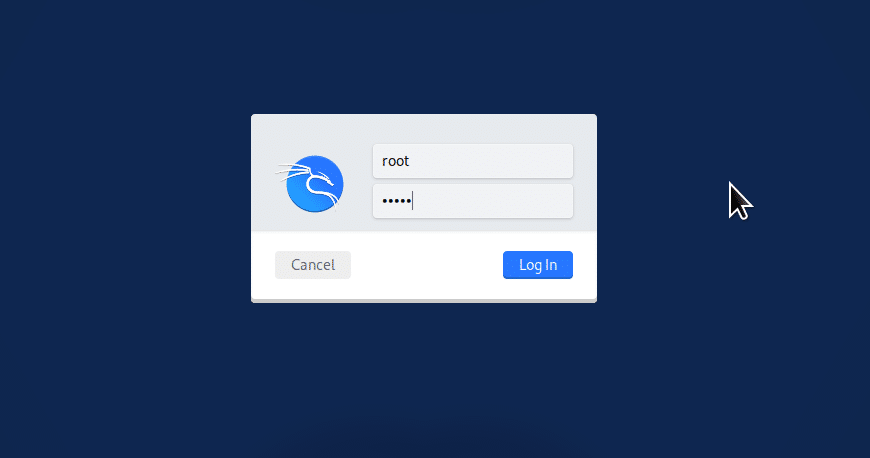
At the end of the installation process, enter the user name and password: