How to Use Kali Linux Without Installing FROM A USB Flash Drive

Como usar kali linux correctamente dentro en una usb, Kali Linux es una distribución de Linux basada en Debian orientada a diversas tareas de seguridad de la información, como pruebas de penetración, investigación de seguridad, informática forense e ingeniería inversa.
Kali Linux es la plataforma indiscutible de pruebas de penetración de código abierto estándar de la industria.
Hay muchas distribuciones de Linux disponibles, y aunque debemos prestar atención a ciertos aspectos, el proceso de virtualización para cada distribución es muy similar. Por ello, en este artículo nos centraremos en revisar el proceso de creación e instalación de Kali Linux en una máquina virtual, y en otro artículo explicaremos con más detalle cómo configurar la conexión a Internet y otros aspectos de esta distribución segura. La Internet.
YOU CAN ALSO READ: HOW TO INSTALL KALI LINUX ON VMWARE
Make a bootable Kali USB drive (Windows)
Crear una llave USB de arranque Kali Linux en un entorno Linux es fácil. Una vez que haya descargado y verificado su archivo ISO de Kali, puede usar el ddcomando para copiarlo en su memoria USB usando el siguiente procedimiento. Tenga en cuenta que deberá ejecutarse como root o ejecutar el ddcomando con sudo. El siguiente ejemplo asume un escritorio Linux Mint 17.1; dependiendo de la distribución que esté utilizando, algunos detalles pueden variar ligeramente, pero la idea general debería ser muy similar. Si prefiere utilizar Etcher, siga las mismas instrucciones que un usuario de Windows. Tenga en cuenta que la unidad USB tendrá una ruta similar a / dev / sdb.
Nuestra forma favorita, y el método más rápido, de ponernos en marcha con Kali Linux es ejecutarlo "en vivo" desde una unidad USB. Este método tiene varias ventajas:
- It is non-destructive: it makes no changes to the host system hard drive or the installed operating system, and to return to normal operations, simply remove the "Kali Live" USB drive and reboot the system.
- Es portátil: puede llevar Kali Linux en su bolsillo y hacerlo funcionar en minutos en un sistema disponible
- It is customizable: you can roll your own custom Kali Linux ISO image and place it on a USB drive using the same procedures as above.
- It is potentially persistent: with a little extra effort, you can set up your Kali Linux USB drive "live" so that it will have persistent storage The data you collect will be saved on reboots.
To do this, we first need to create a bootable USB drive that has been configured from a Kali Linux ISO image.
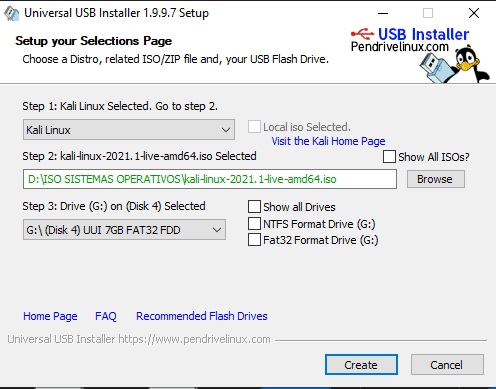
1.- Download Universal USB Installer from the official web site
2.- Descargar la imagen ISO DE KALI LINUX desde su pagina oficial
3.- Mount the iso in a USB:
- Select the operating system to mount and insert the ISO image previously downloaded.

- Click on create and wait for the program to finish booting our memory.
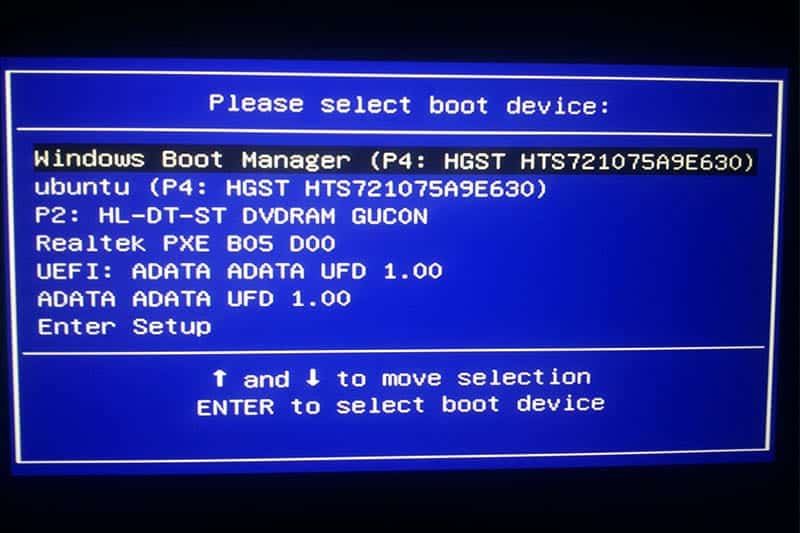
4.- Once we have finished booting our PC, in my case with F12 :

each machine has a different configuration, but the usb must appear with its respective name.
5.-When you press enter the memory will load the boot of the operating system:

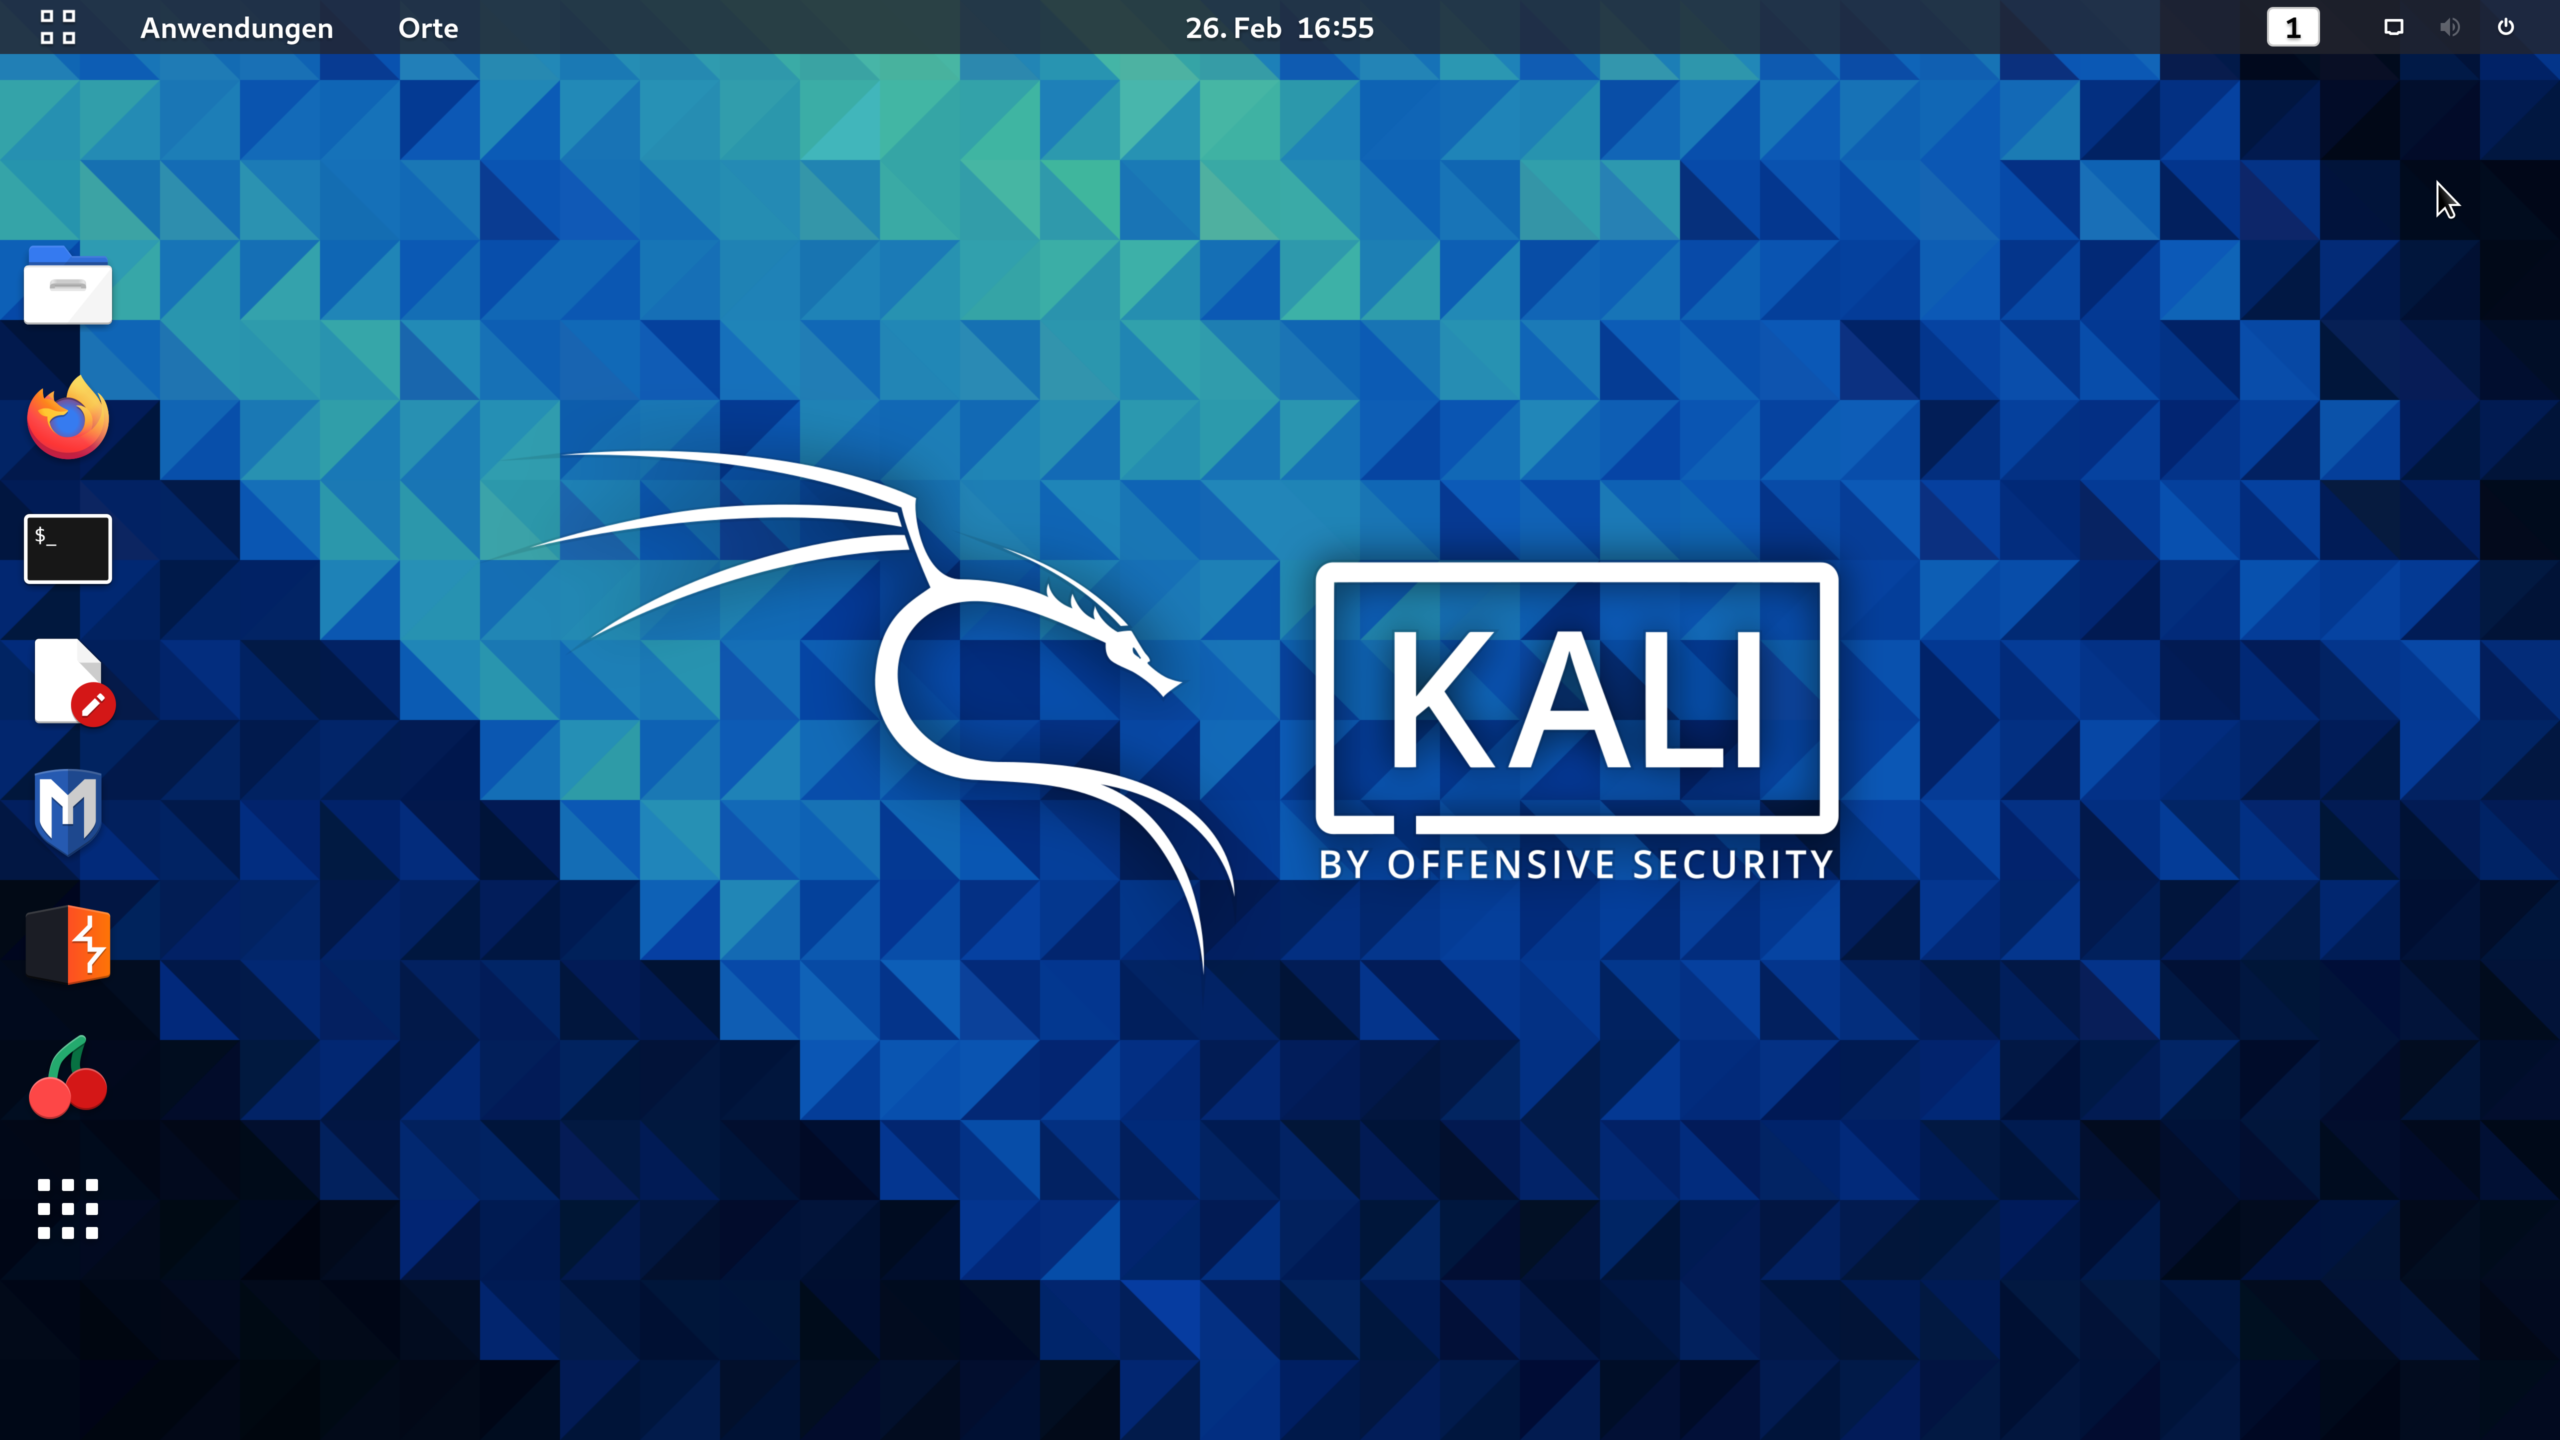
6.- We click on live mode (first option), it will start loading the ISO image until it is on the desktop.

Advantages and Disadvantages of using kali linux from a USB stick
One of the best things that this operating system includes is the speed and ease of use from a usb drive, since we can test kali linux without the need to install it completely on our hard drive or partitioning.
Advantages:
- We can use it as many times as we want
- Use on any machine
- System portability anywhere
- No daña a tu sistema operativo instalado
Disadvantages:
- Data is not saved
- Si no sabemos usarlo podemos dañar nuestras unidades donde esta nuestro sistema operativo
- Since it is portable, it has to be configured every time it is started.
Kali linux booting tutorial
If you have any doubts, here is a video that explains the steps in more detail:
https://www.youtube.com/watch?v=rcw15-hHsY0

Write us a comment: